
Manual feeder blocks for table saw
Manual feeder blocks for table saw
Table of contents :
Manual feeders for the table saw
There are many kinds of push sticks or blocks for the table saw, but we have seen appearing from the US a new kind of model, which certainly brings inovation on that topic, it is the GRR-Ripper from Micro Jig. 
This block allows to feed both the workpiece and the off-cut on the other side of the blade. It is more a feeder than a push block. If you have two of them, one for each hand, you can obtain a good quality cut, similar as with a motorized feeder, even for a long piece (see the video here below).
Moreover, this device brings extra security, keeping the blade to even more distance from the hand.
This article shows how to make yourself such a kind of feeder.

Principle and plan
The drawing here below shows the M shape architecture of the feeder. The bottom of the feet of the M is coated with an “anti slipping linning which allows to grip the wood.

There are two use cases, either the workpiece is wider than the tool (picture from the left), or it is narrower than the tool (picture from the right).
In the first case, the piece is gripped by the three feet of the M, and in the second, the workpiece is gripped only by two of them. In order to avoid for the tool to rock, a mobile extension can be deployed so that it touches down the table (the red piece on the drawing above).


The saw blade passes under the bridge, between the first and the second foot
of the M.
In order to be able to rip relatively narrow pieces, the first foot is only
5mm wide.
The two other feet have 15mm width.
The foot in the middle can be transversally slid, in order to adapt to different width configurations.
Making the tool
The process described below shows how to make a couple of wood feeders, witch allows a continuous feed, with both hands, when ripping the longer pieces.
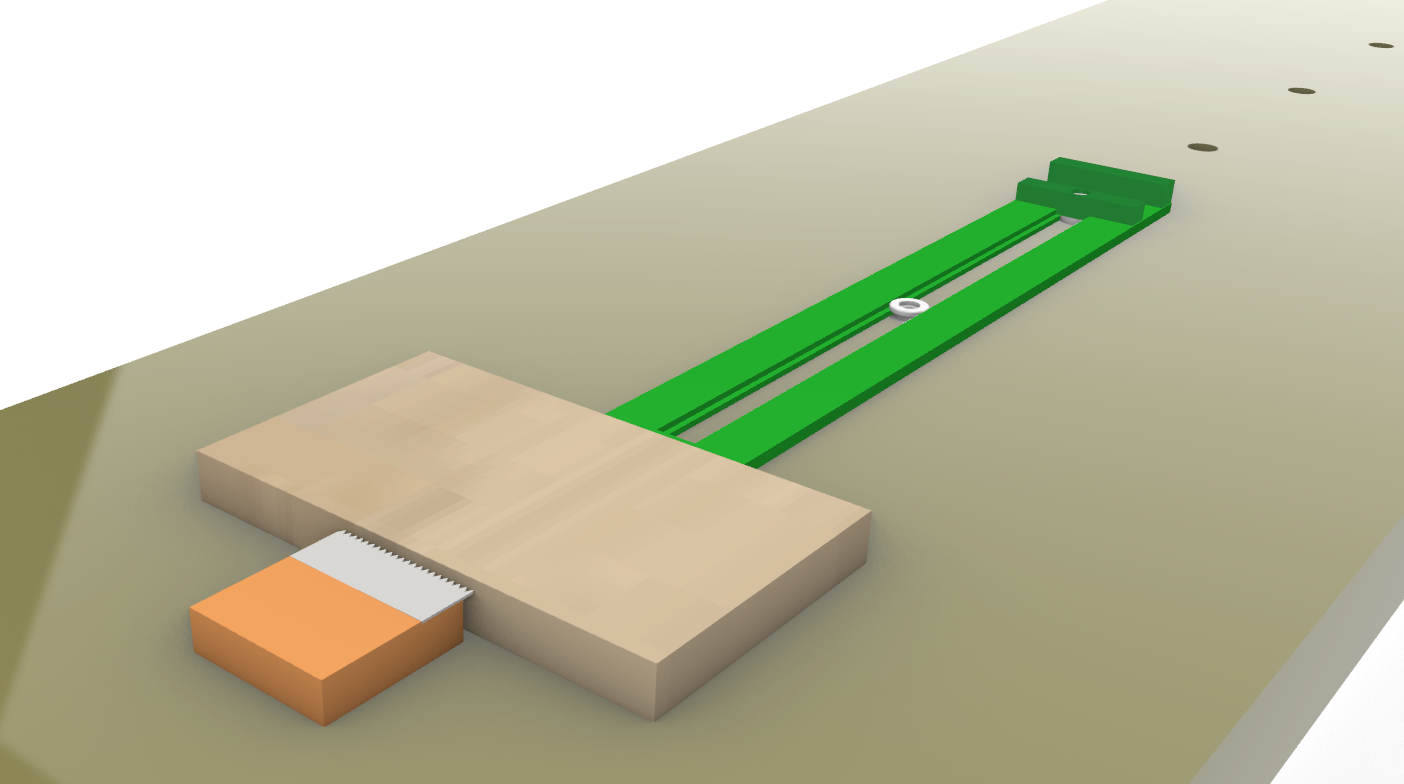
Top and slides
- The slides are made using a U shape aluminum profile, the same thickness as the plywood.
- They are inlaid at the edge of a piece that will be the two tops of both tools.
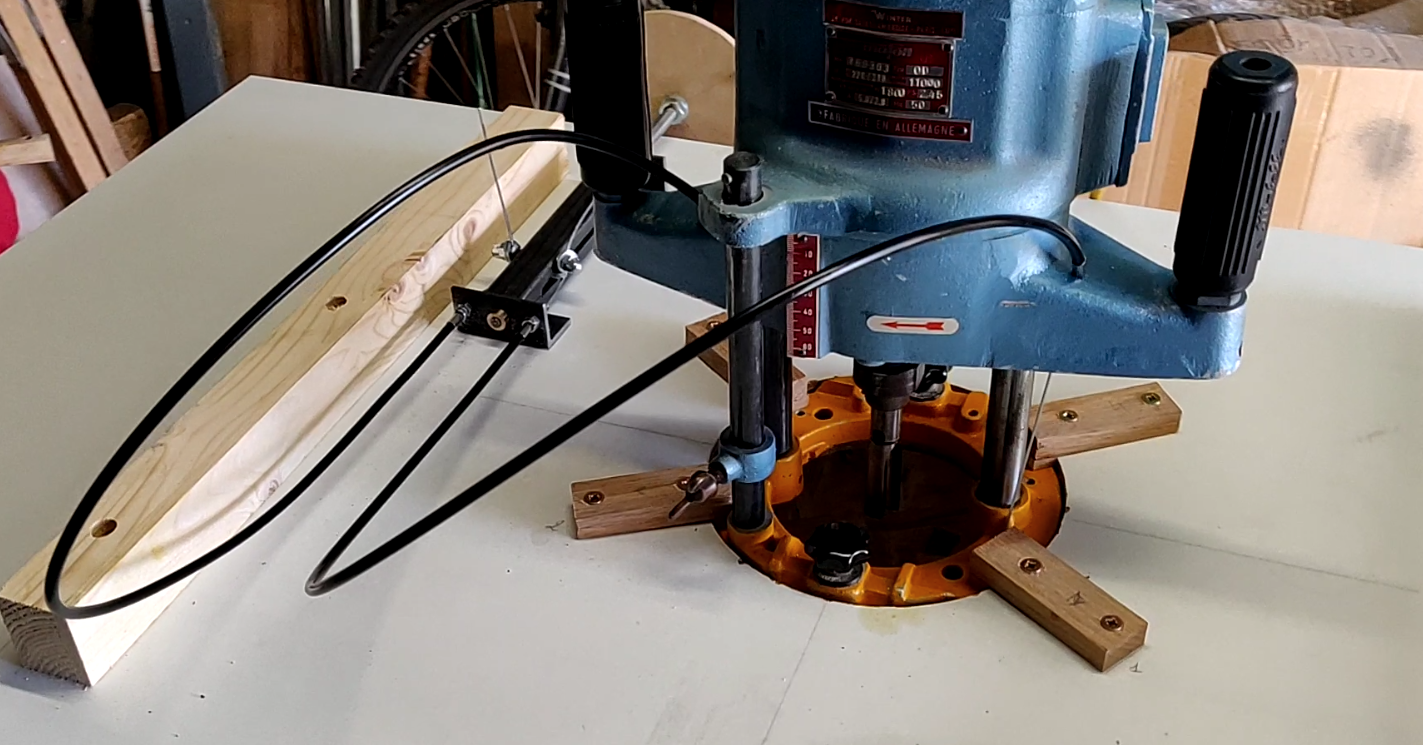
- The opening of the slide is cut on the table saw (the carbide teeth cut aluminum very well).
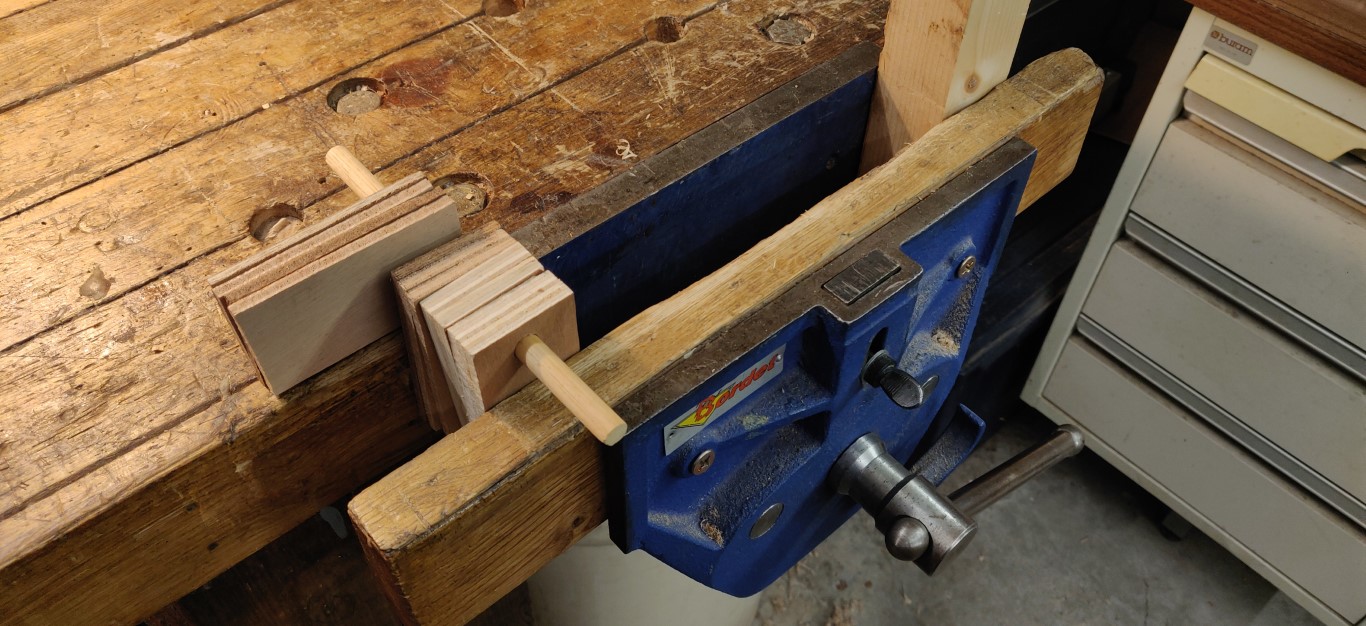
- At this stage, I use the tenoning jig described in this article.
- The T head screws are made with round head screws, on which I have filed two flat sides to prevent them from turning.
- Finally, once both slides are made, I rip the piece in two pieces to make the two tops.

Handle

The sides

Assembly
- The nuts are made on the lathe out of aluminum. But you can as well use wing nuts.
- The grip under the feet is made using 80 grit sand paper strips, blued with neoprene. It is also possible to use strips from a rubber mouse pad.
- The extension of the third foot must slide on the table, it is rubbed with paraffin from a candle.

Finished tool and demonstration
- The finish is tung oil.

Please feel free to leave me any comment here, or on Facebook, or yet on HomemadeTools.
Christophe


Older readers comments