
gallery Bari Mando Body
Welcome to the gallery Bari Mando Body.
Layout on the maple, to get continuity of the curls
Jointing the table. Jointer, handplane, then sanding for scratching the joint
Monobloc body. thickness sanding
Index of the body on the axes of holes going through
The toggle switch hole, the lip first
Prcise contour with the router, using a tamplate
the rest with a copying bit, and sanding.
The lip with another template.
The grounding wire of the stop piece, in the screw hole. Need to think about it now !
The neck pocket, with a template.
Fllat bottom for the moment
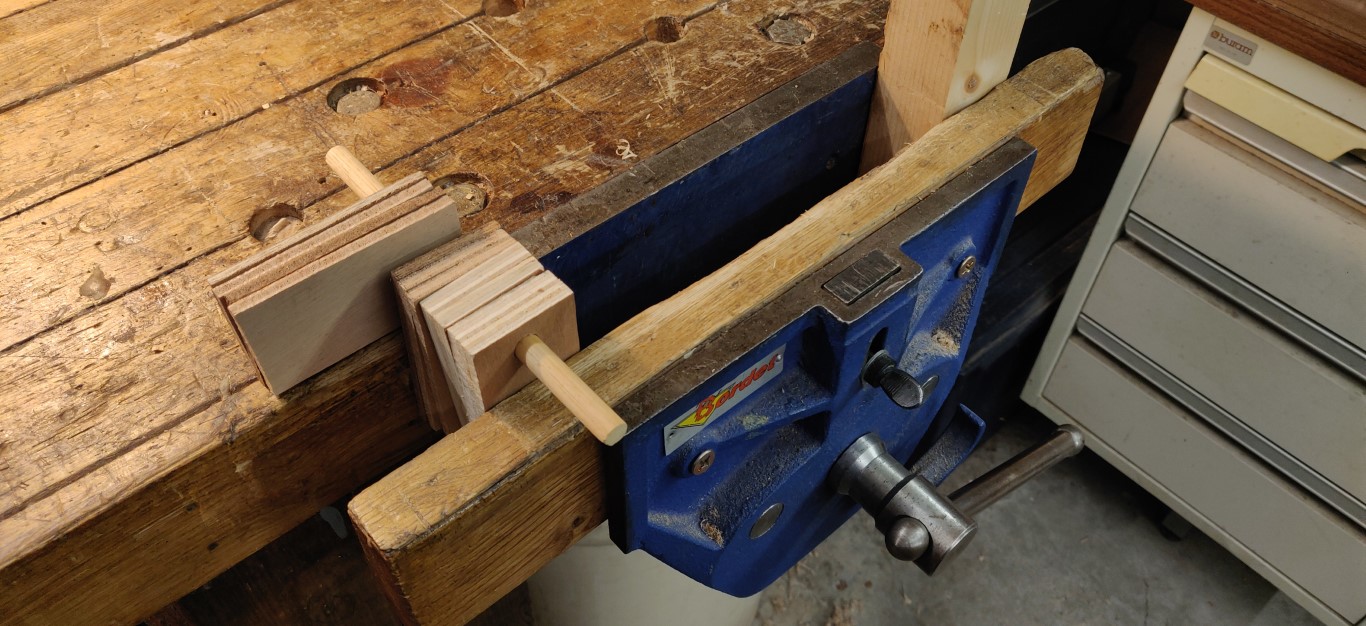
Cut of two wedges with 3.5° tapper
Use of the wedged rails with a copying bit to cut the inclined bottom.
The top now, stepped rooting method.I still do not cut the contour.
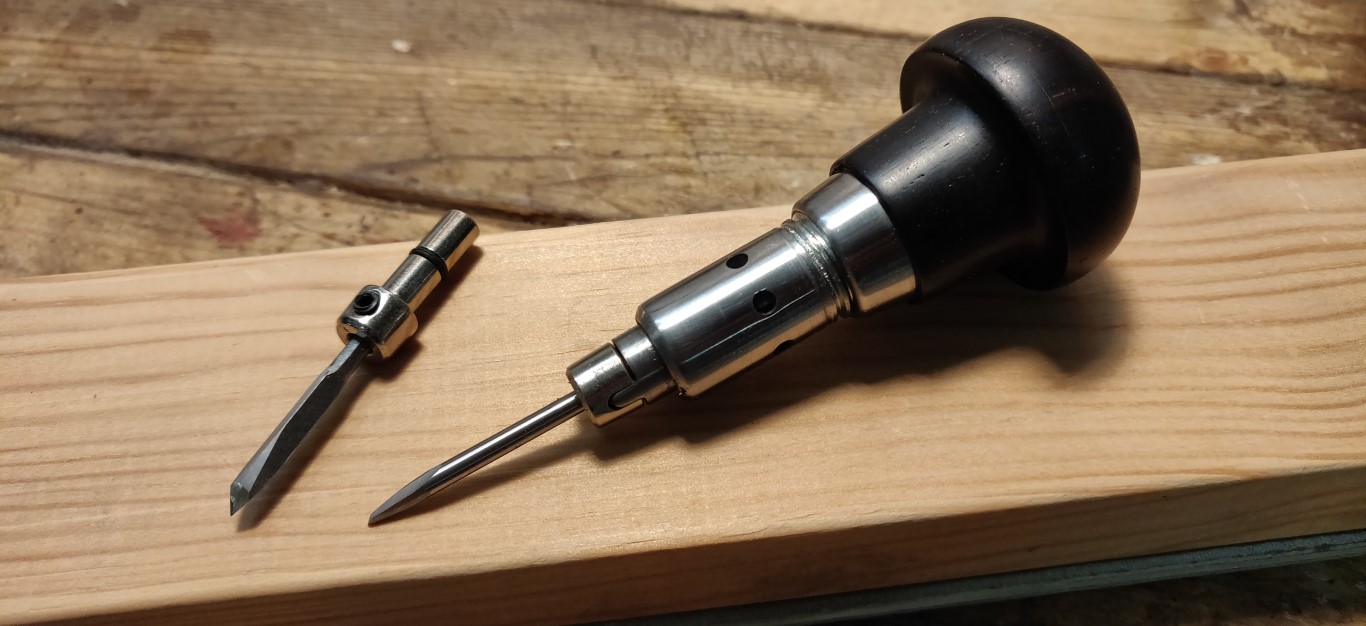
Drawing of the curves using punch holes in the paper.
Rooting of the steps, using a large acrylic sole for the rooter. Depth check with the caliper.
At last I cut the contour,
but I have kept a little margin on the contour at the max thickness of the board. This will be usefull when I will have to work on the reverse side.
Margin also useful to apply again the template on the top and route the contour with a copying bit.
the rest is rectified with another bit that has a bearing at its bottom.
The quarter round at the back edge.
cut of the margin, for the horizontal part.
shaping the top, violin maker block planes.
Sanding with Abranet 120 grit, on a soft pad
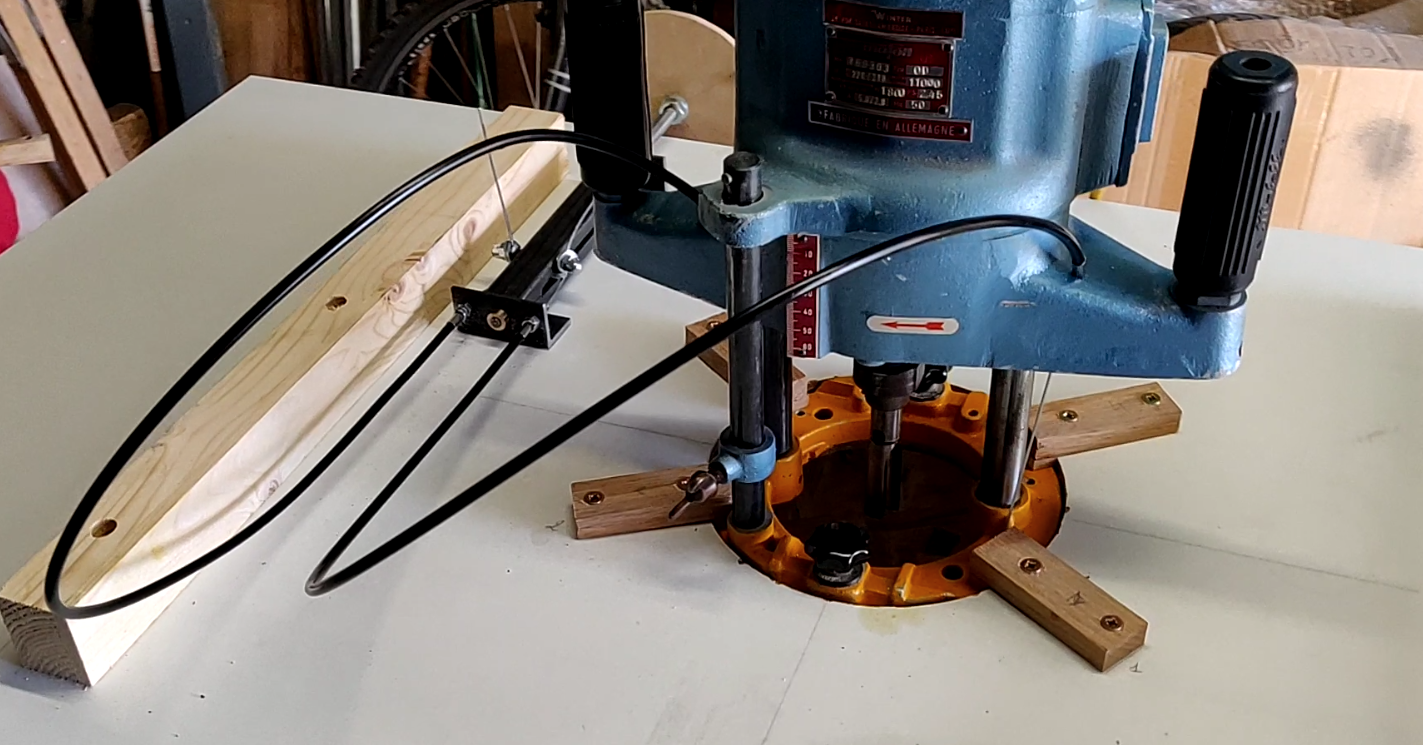
A rooter bit extender, quickly home made on the lathe.It needs to fit the rooter collet. The commertial extenders are too big.
To reach the bottom of things ...
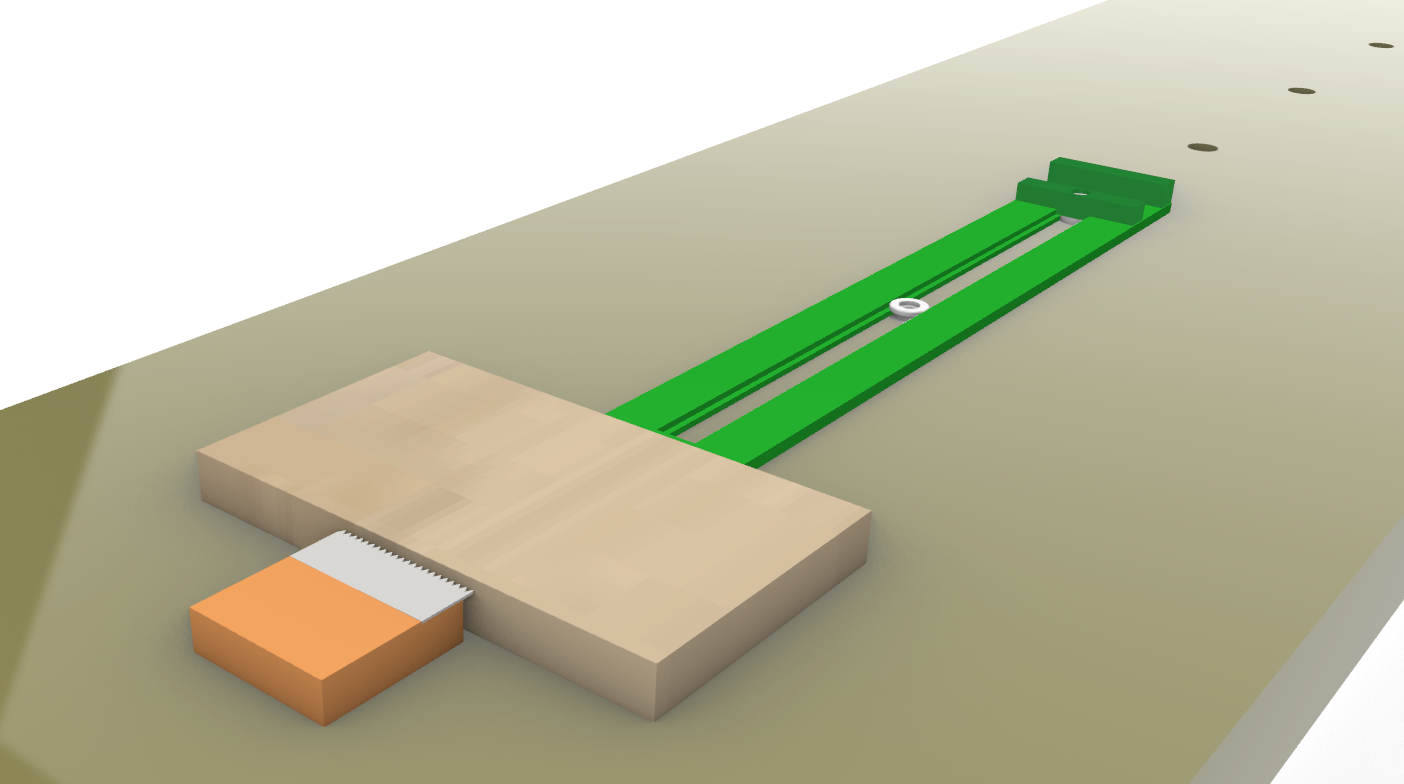
Rooting of the pickup pockets, with a template. Pre-drilling.
Same template for both pickups
The hole for the jack.Forster bit.
All contents under Creative Commons BY-NC-SA license.


Older readers comments