
gallery Bari Mando Neck
Welcome to the gallery Bari Mando Neck.
Angle cut between the head and the neck. Method from Franck Cherubin, on the table saw.
Dry fit. The bevel is below the fingerboard.
Thickness sanding of the head.
Clanup of the cut with the hand plane.
Gluing, well flat on the side.
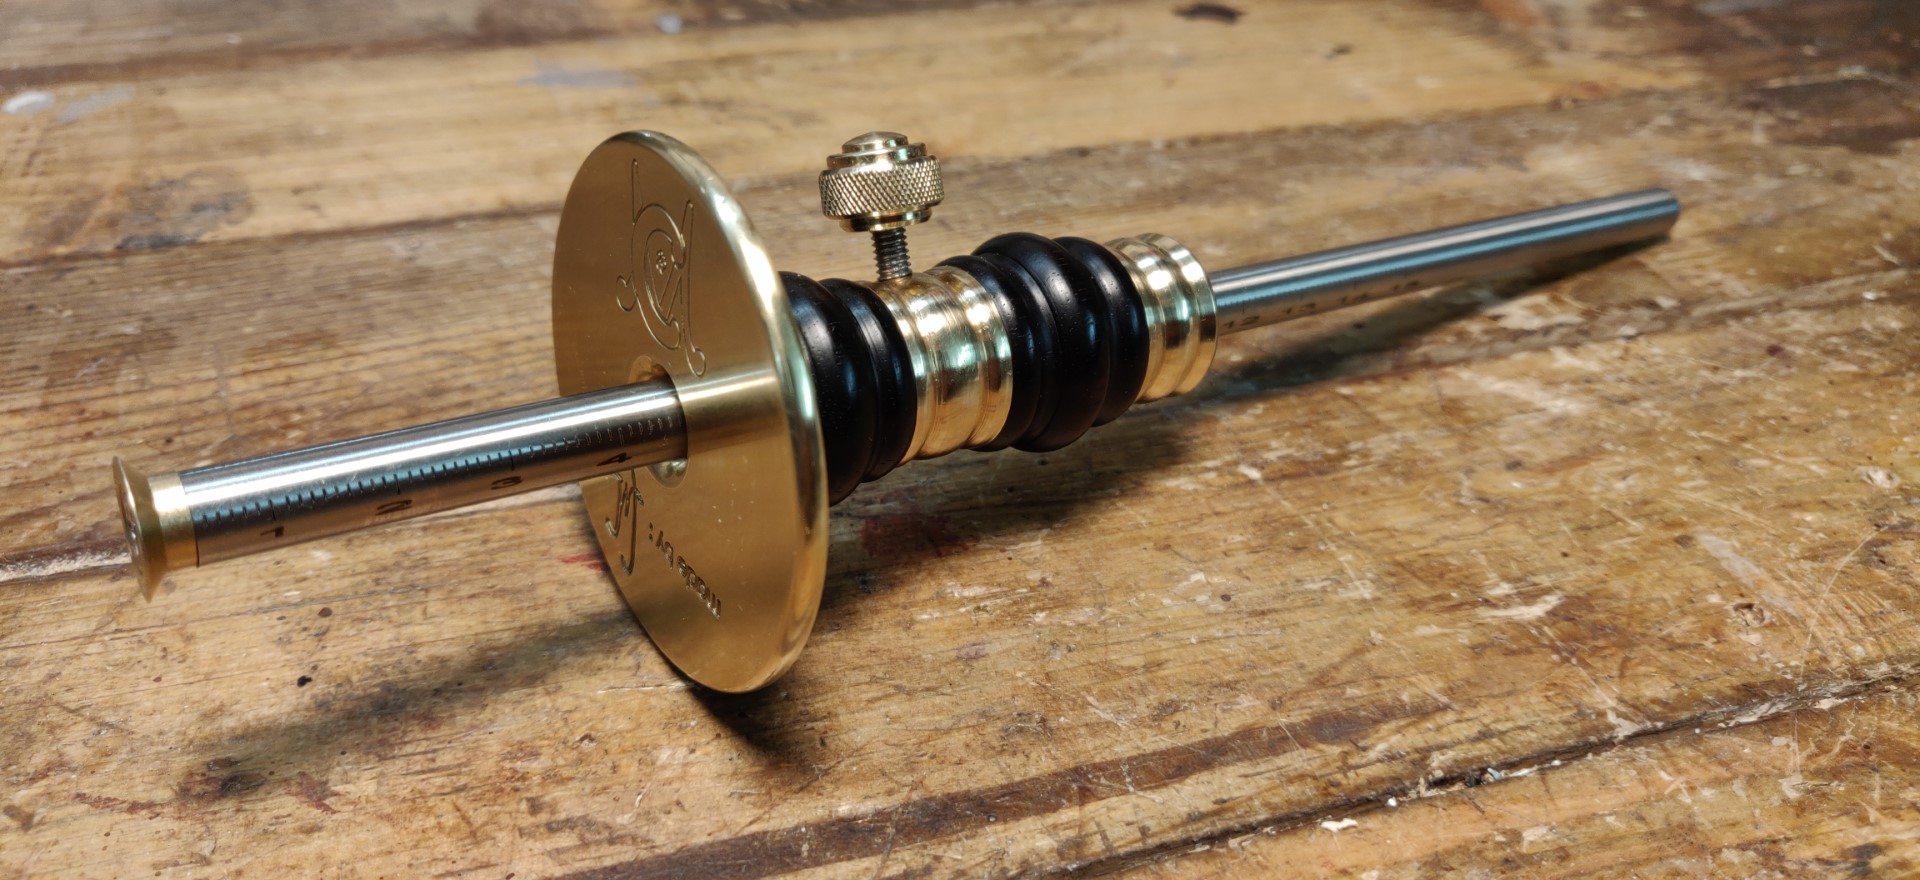
Setting the depth of the tenon using the gauge in the mortize.
Scribing of the tenon on the neck stock.
Use of the wedges to root the inclined rear face of the heel.
The neck is 3.5° inclined from the body.
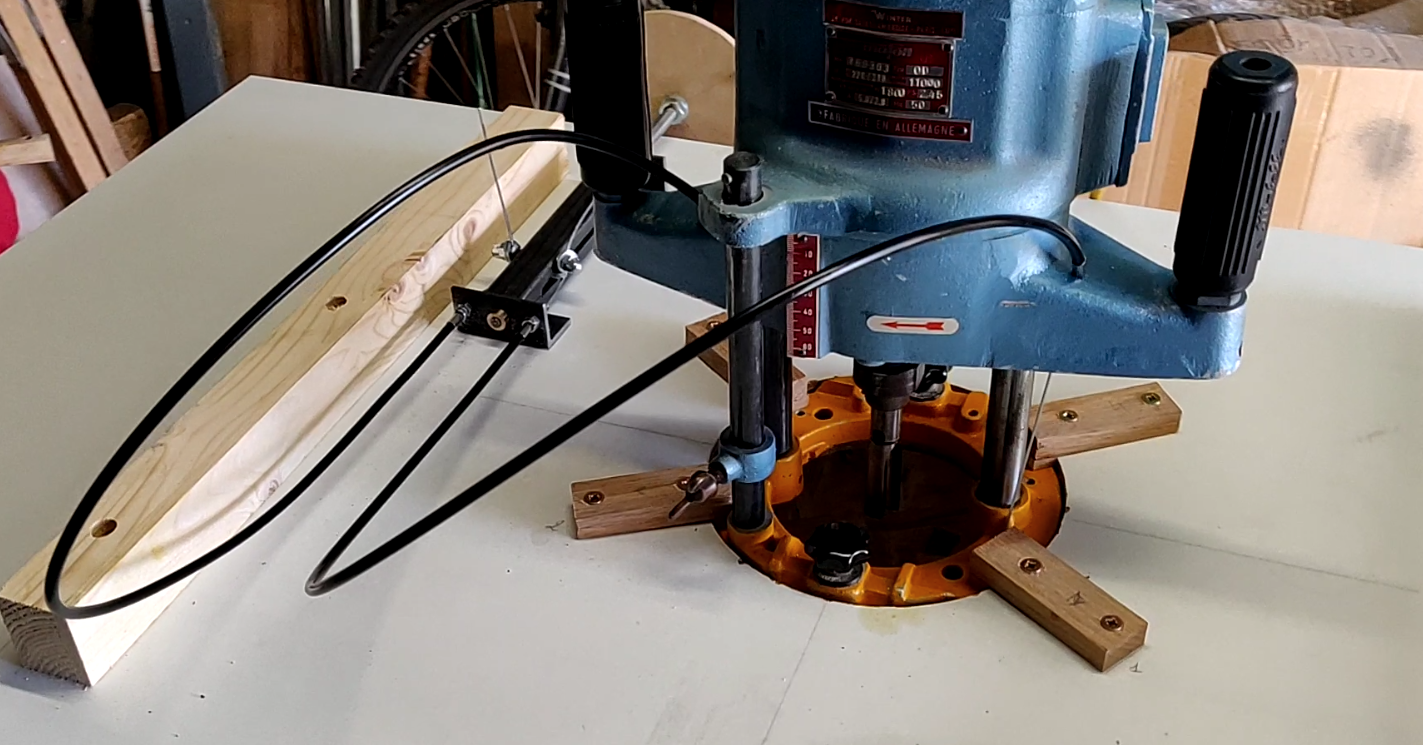
Routing of the tenon, parallel to the fingerboard.
Cut of a faux square at 90-3.5°, using one of the wedges.
Use of the faux square to root the sides of the tenon.
The ontour of the tenon on the heel side must be well continuous.
Rapid cut of the rest of the tenon using the bandsaw.
Adjusting thecut with a scaper.
Making ofthe volute with the thickness sander.
The roll diameter just fits, what a chance !
Cut of the back profile of the neck with the bandsaw.
After the fingerboard is glued, cut of the sides of the nek and headplate..
Now it starts looking to something ! Self-portrait of the artist :)
Drilling the holes for the tuners.
Sanding with the oscillating sander of the contours of the head.
The tip, the largest curves.
The tip, the rest with the knife and the chisel.
Shaping the neck. The big rasp is a rasp for the farrier. Extreamly efficient !
More little rasp for coming to the definitive shape.
A the heel, using the gouge.
The plane for the straight parts.
Gluing the neck with the body.
All contents under Creative Commons BY-NC-SA license.


Older readers comments