
Table of contents :
gallery Viola -4- Top
Welcome to the gallery Viola -4- Top.
Gluing the top center joint
Drawing the actual contour
Planning to the final thickness of the arch.
Starting the carving from the highest point.
Marking the end of the step.
Thumb plane at the narrowest.
The steps are roughed out.
Checking with the templates.
External shape finished !
Preparing to trace the purfling channel.
See the article describing this tool.
The points are delicate, especially in the spruce.
Ready for inlaying the purfling.
Warming up the work area to increase the open time of the hide glue.
The purfling glued up in the C bout.
Checking the shape of the arch, drawing the level curves.
Digging the top plate with the two handed gouge. A real pleasure !
Fine adjusting the thumb plane.
Digging with the thumb plane.
But you must keep concentrated !
The top plate must be supple in torsion, up to a certain extent.
Tracing the different thickness areas, starting around the sound post location.
Checking and adjusting the thickness following the different areas.
Everything is at the correct thickness.
After smoothing with the fine scaper.
Drilling, by hand, the holes of the ff. Very carefully.
The hole is finished on the other side to avoid any tear out.
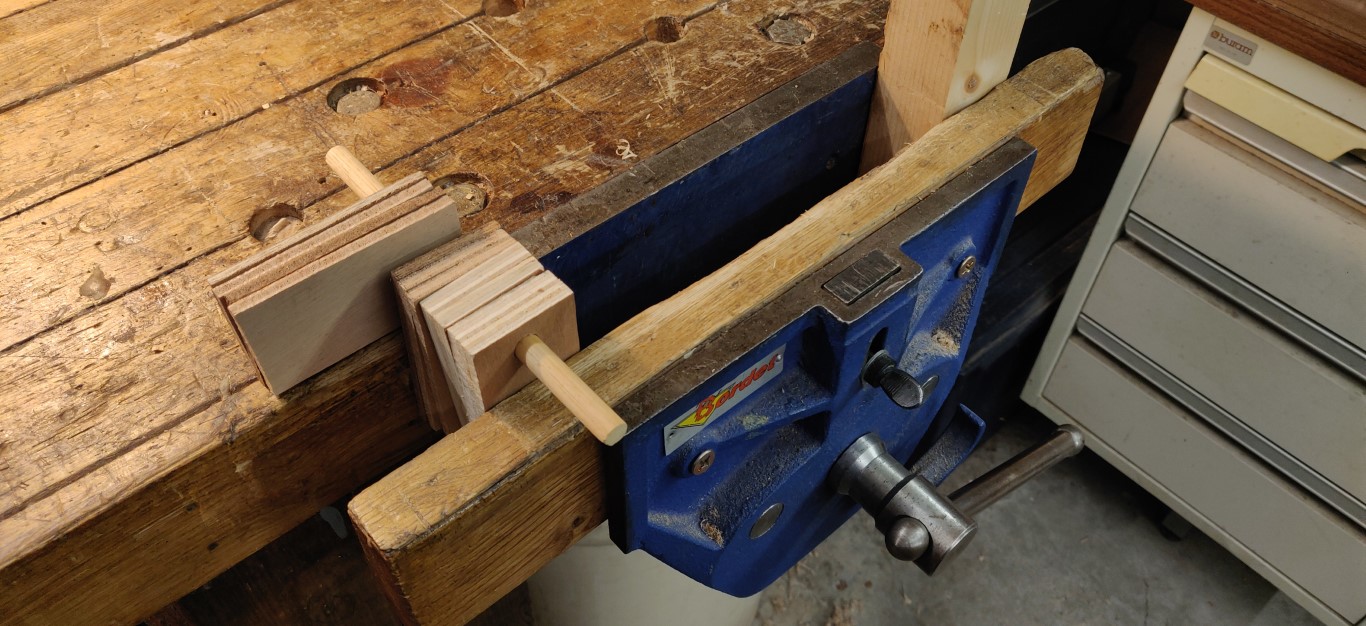
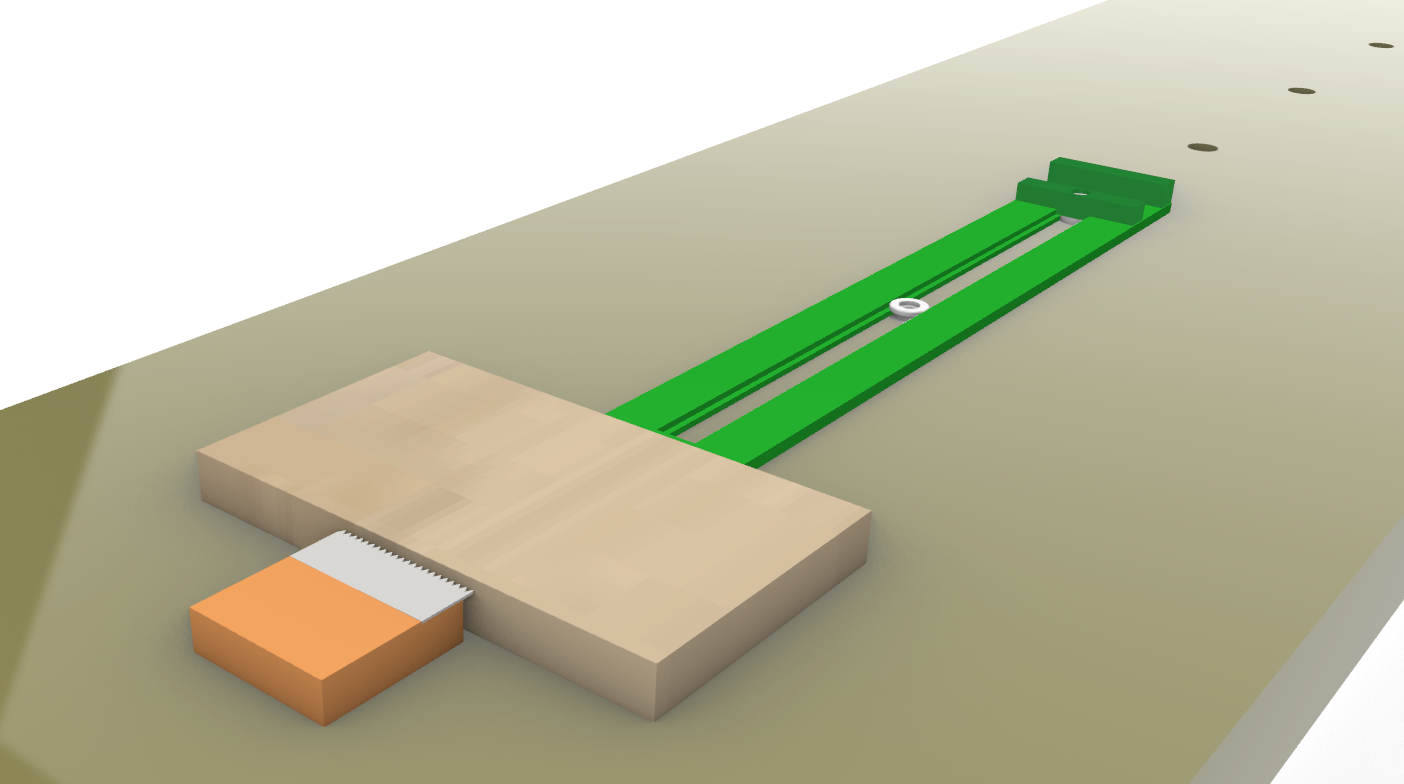
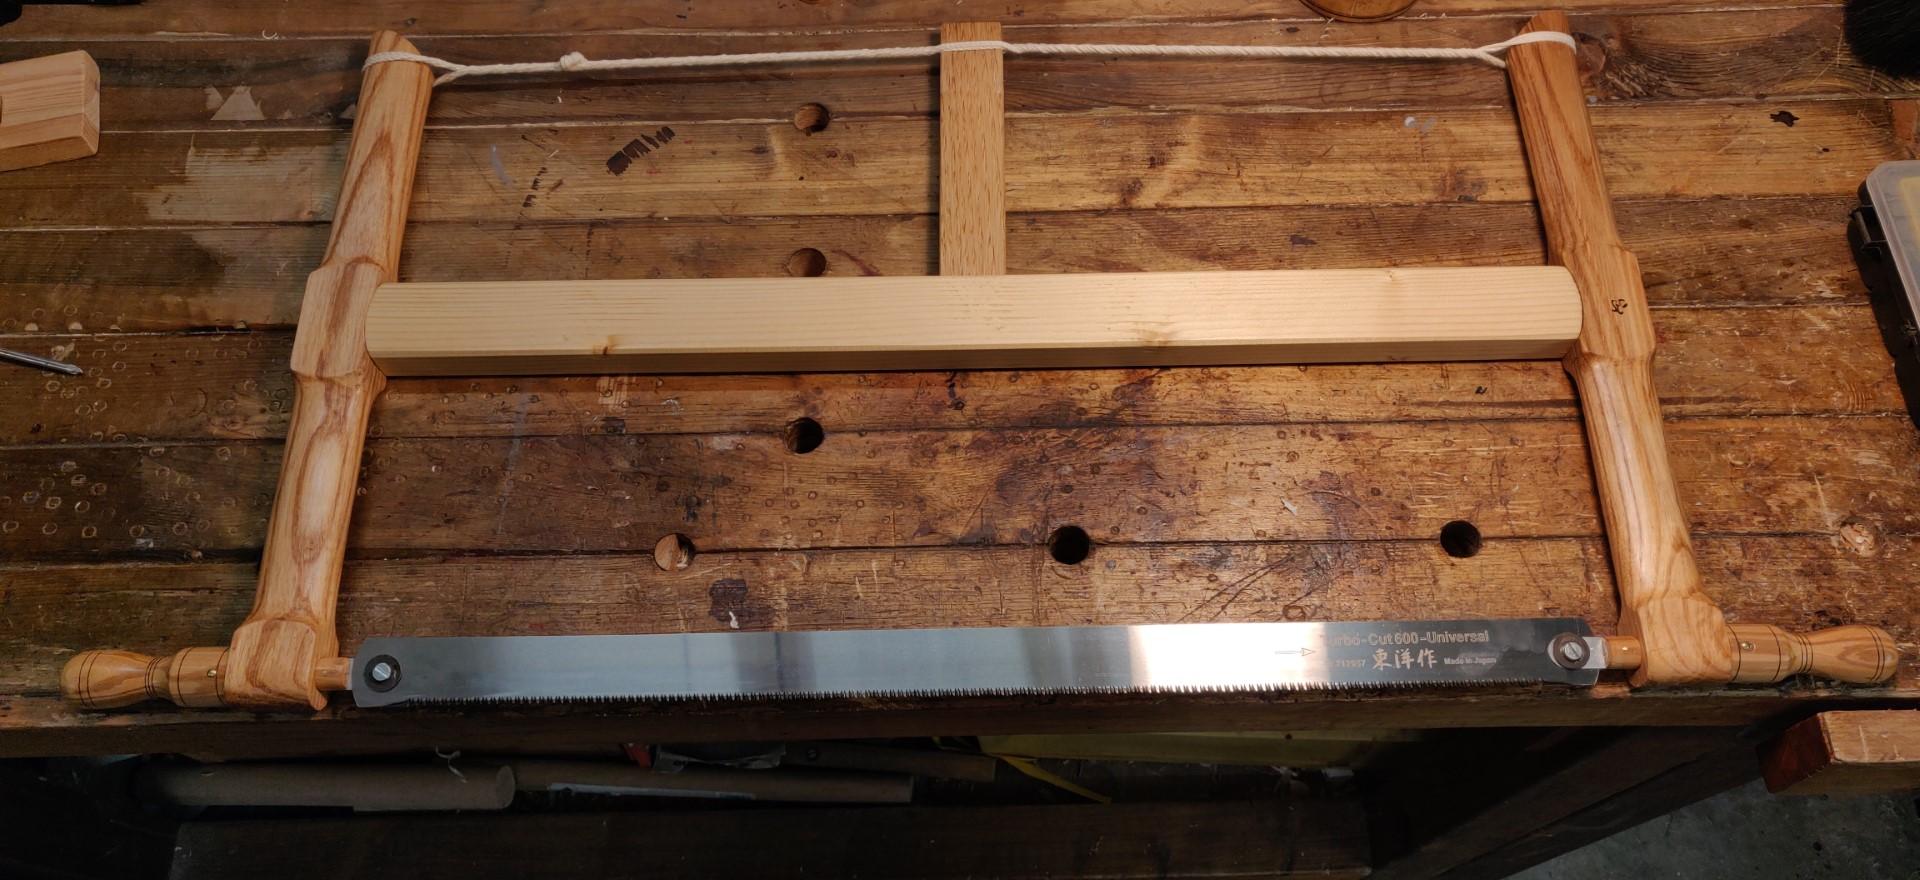
Sawing with the copying saw.
Shaping with a razor sharp knife.
Much concentration, always think about the grain direction.
Roughing out the bar. The growth lines must be perfectly vertical.
Sawing parallel to the wood grain.
With the caliper, I trace the shape of the plate on the bar.
The final adjustments are done with the scraper.
The bar must be glued with a slight constraint, that is why the tips are shaped somewhat higher.
The bar must roll on its location.
Shaping with the thumb plane.
The edge of the ff is slightly carved. Not too much on the Amati.
Smoothing the wings with a scraper.
Scribing a chamfer all around the top plate.
I start with a flat chamfer, and I break successively the angles.
Needle file for the corner.
Chamfer before rounding the edge.
And finally, like the back plate, the top is indexed on the rib crown.
Gouging the purfling and the throat.
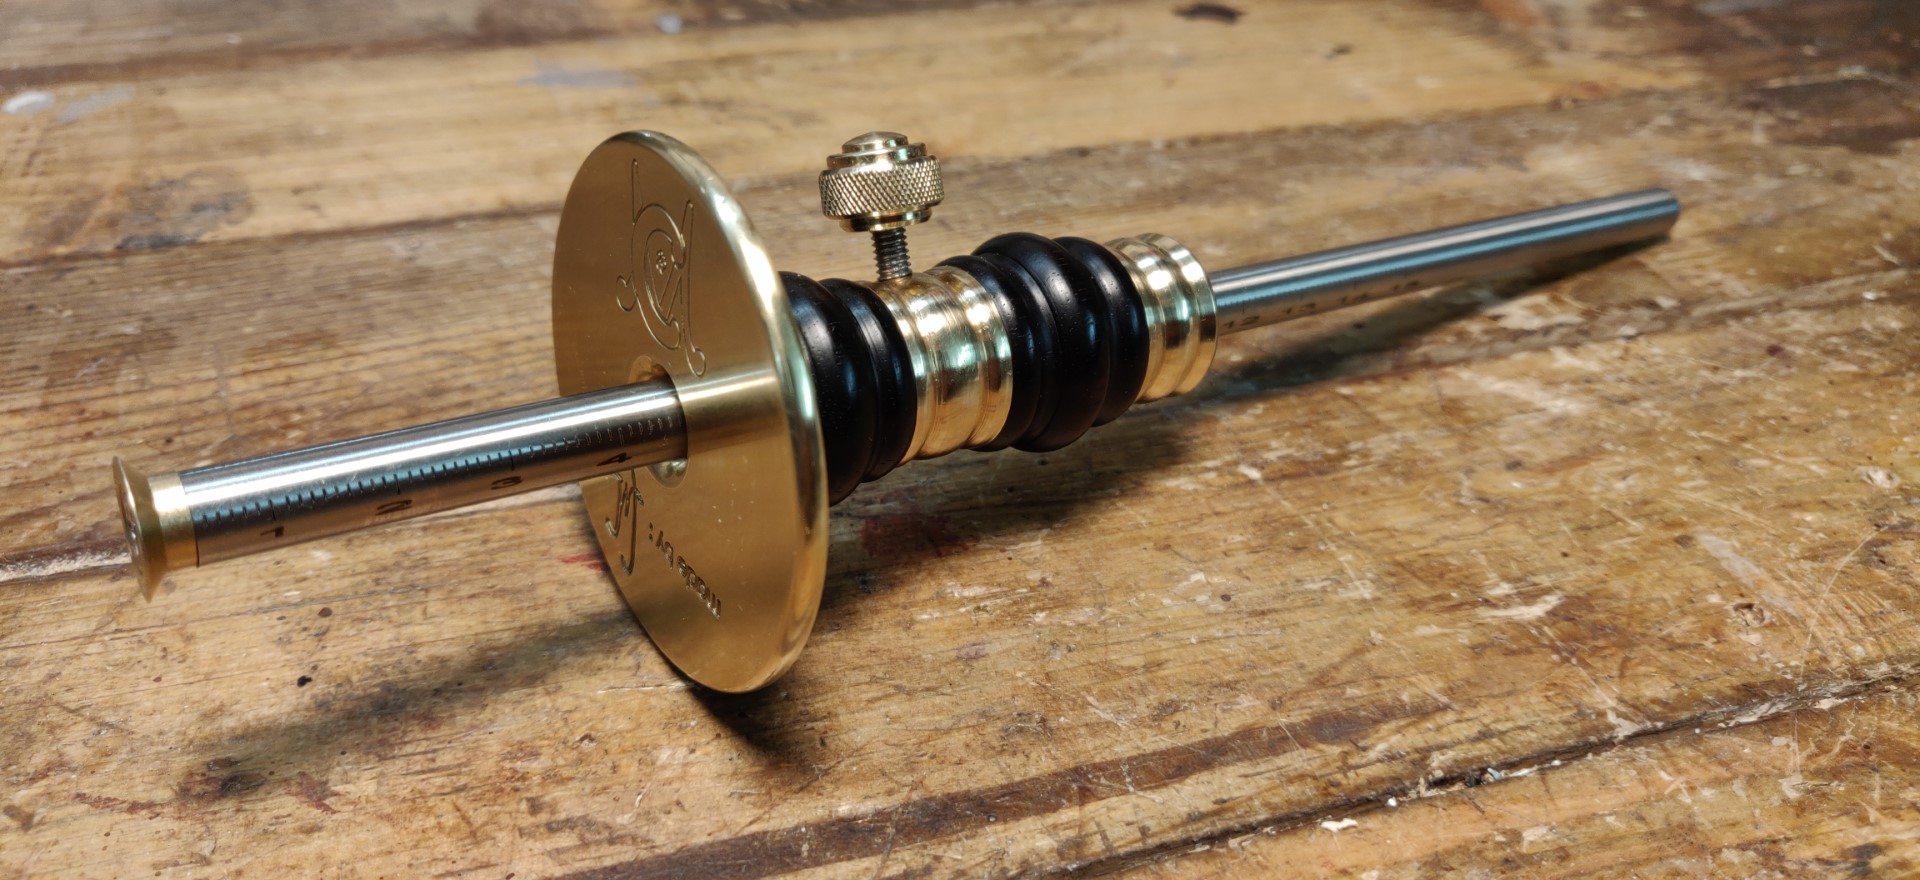
Thickness punch keeping above the final measurement.
Checking, marking with shalk when correct.
Adjusting with the scraper.
All contents under Creative Commons BY-NC-SA license.


Older readers comments