Telecaster Electric mandolin
Telecaster Electric mandolin
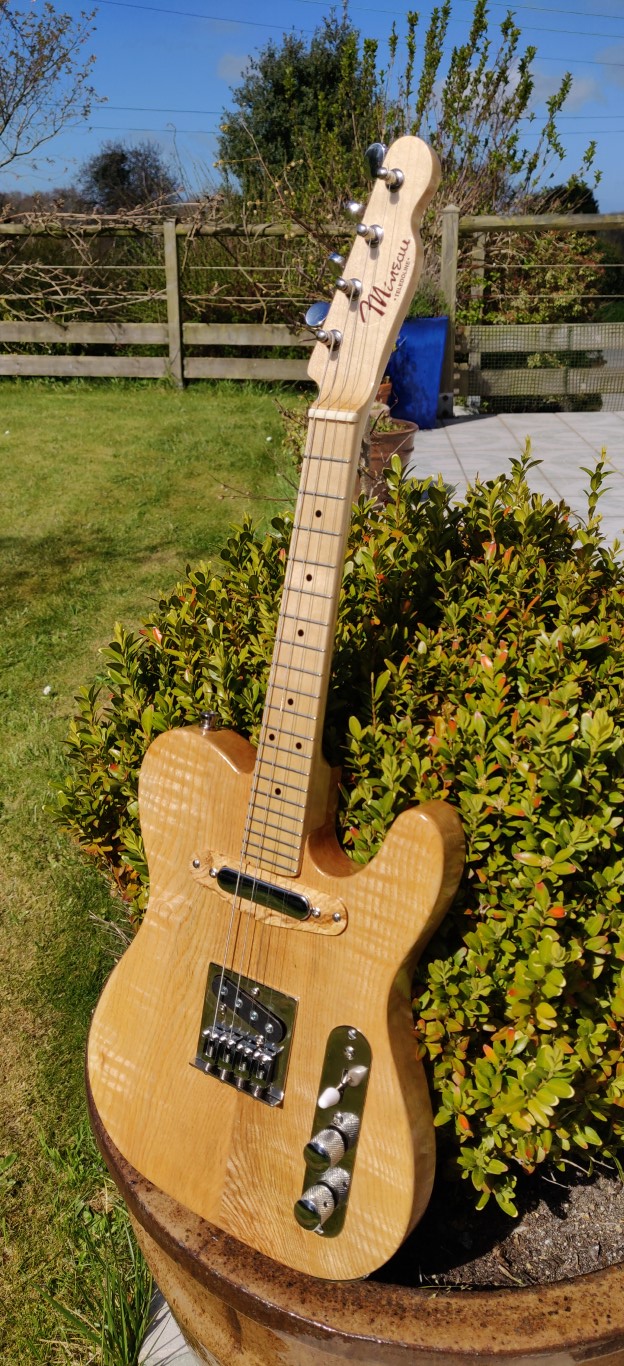
Table of contents :
4 strings “Telecaster” electric mandolin

Modeled on the famous Telecaster guitar from Leo Fender, here is the
“Teledolin”.
It is an electric mandolin, 4 strings, taking on a reduced scale, the
characteristics of an original Telecaster guitar.
- Body made of solid ash.
- Maple neck and fingerboard.
- Scale is 354 mm.
- 4 strings tuned G3, D4, A4, E5, gauge 40W, 26W, 15, 11
- Custom Pickups from ALMUSE
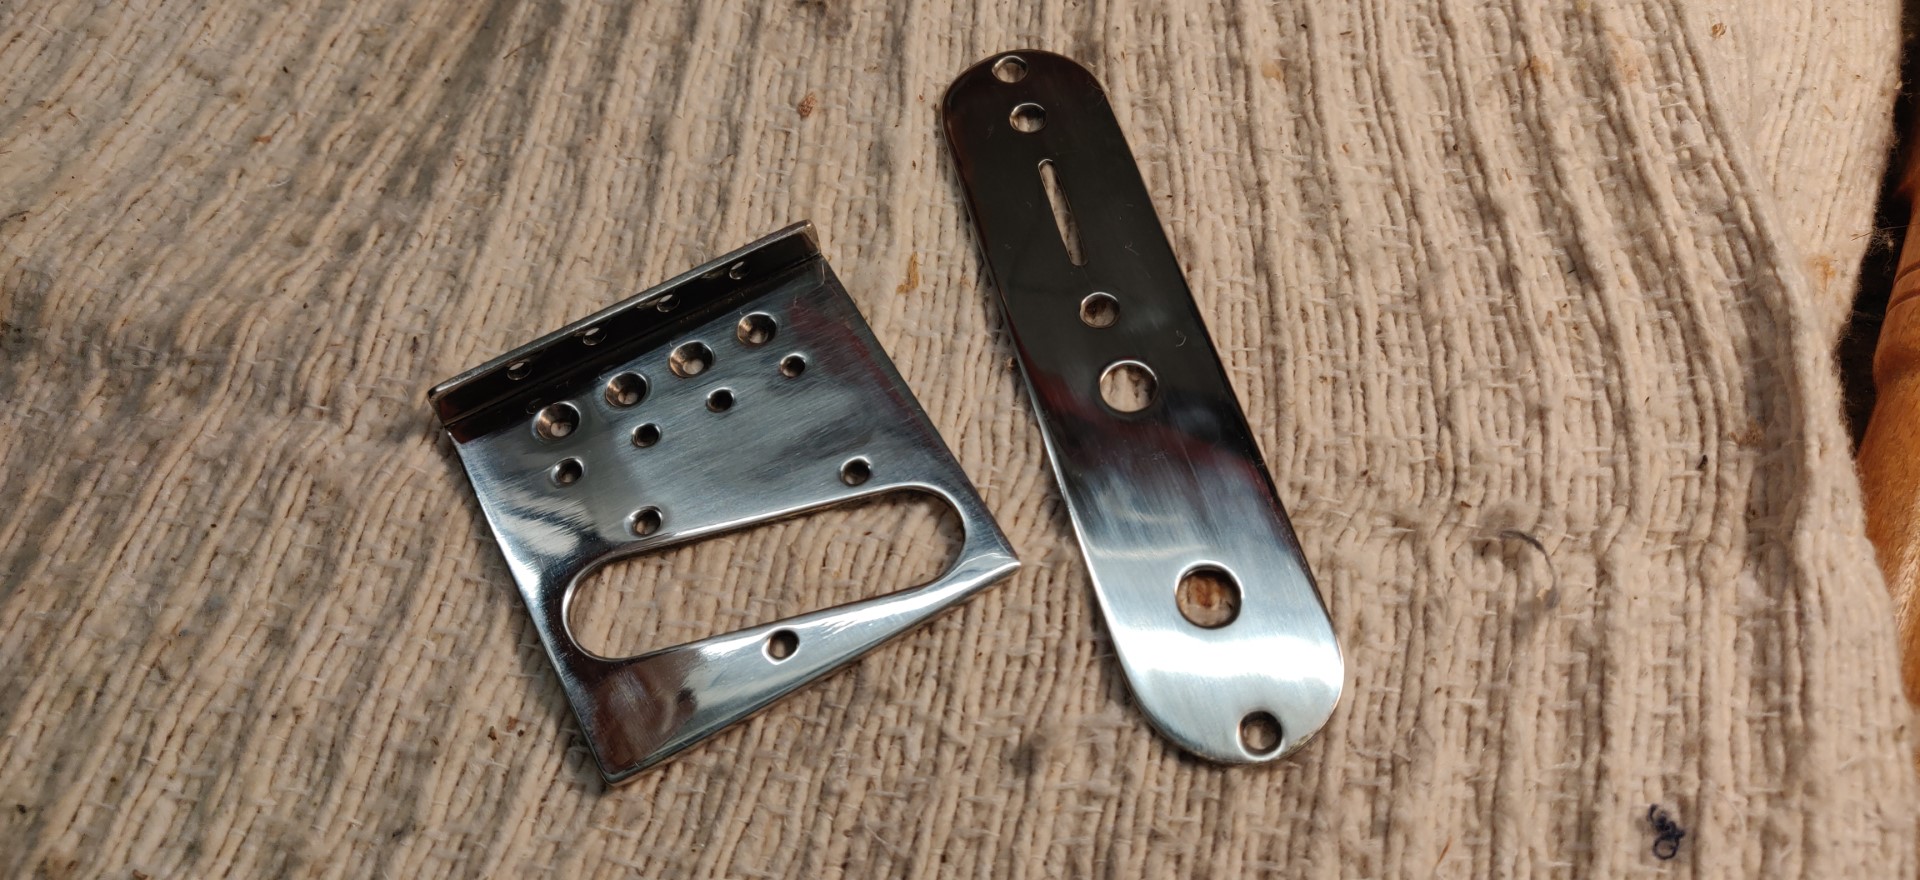
- Custom hardware made by myself out of brass and nickel plated, in order
to respect the general size ratio of the instrument.
Exclusive: An integrated wireless module “WS-20” by Rowin, for wireless connection to the amp.
Here are some sound clips, without any transformation, the instrument just finished:
- Neck Pickup, alone :
- Bridge pickup, alone :
- Both pickups :
Making the body
×
- 1 -

|
Two parts body, solid ash.
—|—
- 2 -

|
The templates from the plan, the body, the neck and fingerboard.
- 3 -

|
Templates for the carved cavities. No plastic pick-guard plate here, so the cavities are limited to a minimum.
- 4 -

|
Neck assembly before contouring.
- 5 -

|
Tight fit.
- 6 -

|
Cavity at the back for the wireless adapter. Drilling the hole connecting the controls cavity.
- 7 -

|
Cross drilling by the jack hole, connecting the controls cavity down to the pickup cavity.
- 8 -

|
The wireless module in its housing, which will be closed by a thin wooden lid, hold in position using 8 small magnets.
- 9 -

|
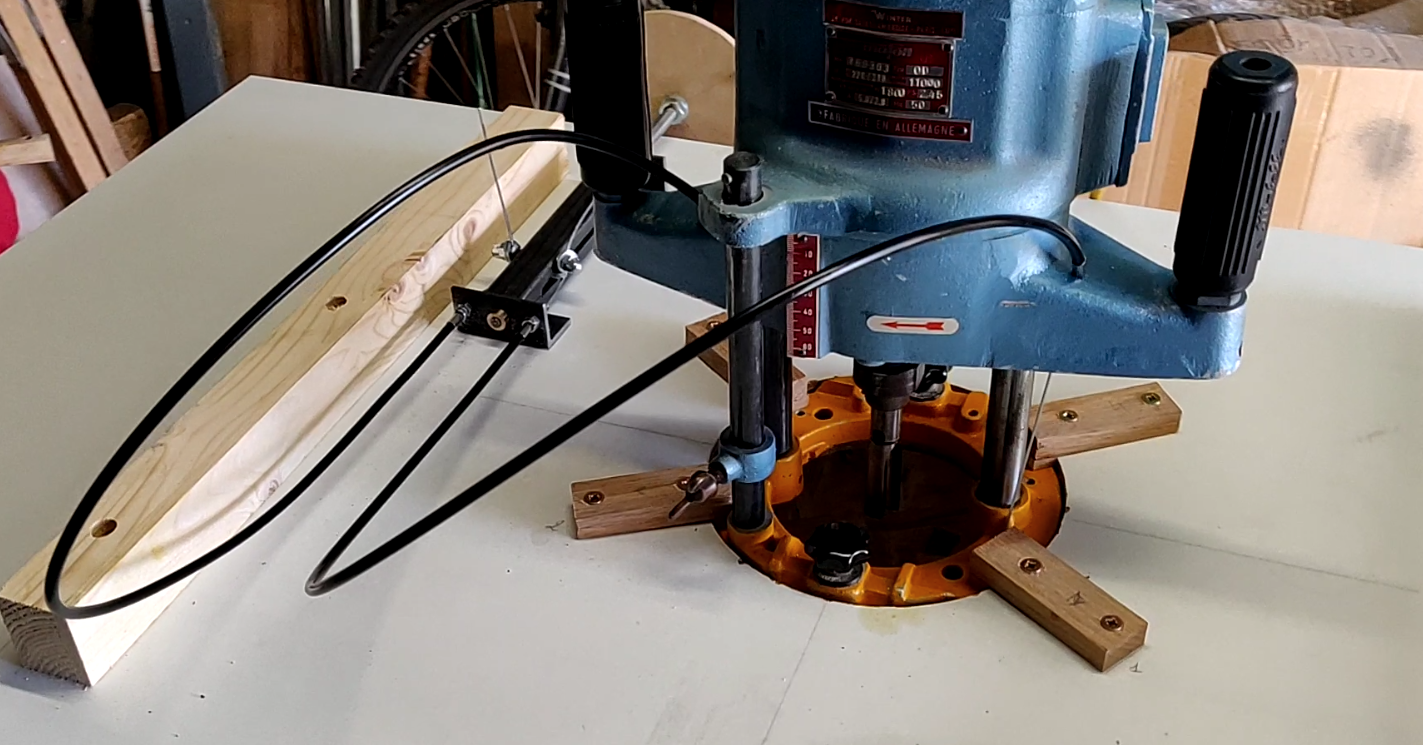
Inlaying a small steel plate in the thickness of the lid, for holding the magnets. Using my router plane.
- 10 -

|
Just a millimeter deep.
- 11 -

|
The cover (scraping still glued paper template)
- 12 -

|
True oil finish, twenty thin layers.
- 13 -

|
Copper shielding of all cavities except the one for the wireless adapter.
Hardware and pickups
- 1 -

|
Brass tailpiece blank (thank you Pete Malinson!)
—|—
- 2 -

|
String ferrules, homemade out of brass.
- 3 -

|
The ferrules are inserted in a flat bottom hole, so as to better transfer the strings energy to the body of the instrument.
- 4 -

|
Modifying ukulele tuning machines. Milling the ends.
- 5 -

|
This leaves just enough room to put the two screws.
- 6 -

|
Preparation for nickel plating of the sleeves and the heel plate.
- 7 -

|
Homemade Nickel Plating setup, see this article for more information.
- 8 -

|
The finished pieces after polishing.
- 9 -

|
Installing the neck pickup.
- 10 -

|
The pickup cover locked around the microphone using insulation tape.
Making the neck and fingerboard
- 1 -

|
Template for the profile, which will be cut on the band saw.
—|—
- 2 -

|
Sanding curved parts with the sanding cylinder.
- 3 -

|
The neck cutout fit to the body.
- 4 -

|
Shaping the neck, using a rasp and file.
- 5 -

|
The fret slots are cut before cutting the contour.
- 6 -

|
Sanding the contour.
- 7 -

|
Gluing the fingerboard to the neck using hide glue.
- 8 -

|
Adjustment after final sanding and gluing.
- 9 -

|
Sanding to 600 grit.
- 10 -

|
Tuning machines placement.
- 11 -

|
Installation of the tuning machines.
- 12 -

|
Installing the frets.
- 13 -

|
Filing the fret ends.
- 14 -

|
Glass caul for leveling the frets. 1000 grit paper.
- 15 -

|
Leveling.
- 16 -

|
The frets have still to be crowned and polished. The fingerboard was oil finished before fretting.
- 17 -

|
Finished frets. Some additional layers of oil have been added after fretting.
- 18 -

|
My personal logo design, inspired by Fender signature. Waterslide decals between True Oil layers.
I hope you enjoyed this instrument, you can also view the making of my other
string and wind instruments on this site.
I recall that I do not sell my instruments.
You can send me your comments by responding to this article below or on my facebook page.
Christophe

Older readers comments