My branding mark
My branding mark

Make your own pyrographing branding stamp
When you make a nice ornamental piece, and that your are proud of, you are
naturally tempted to sign your master piece.
I made myself my own branding stamp, that allows me to sign exactly the same
way all my pieces, in a discreet place.
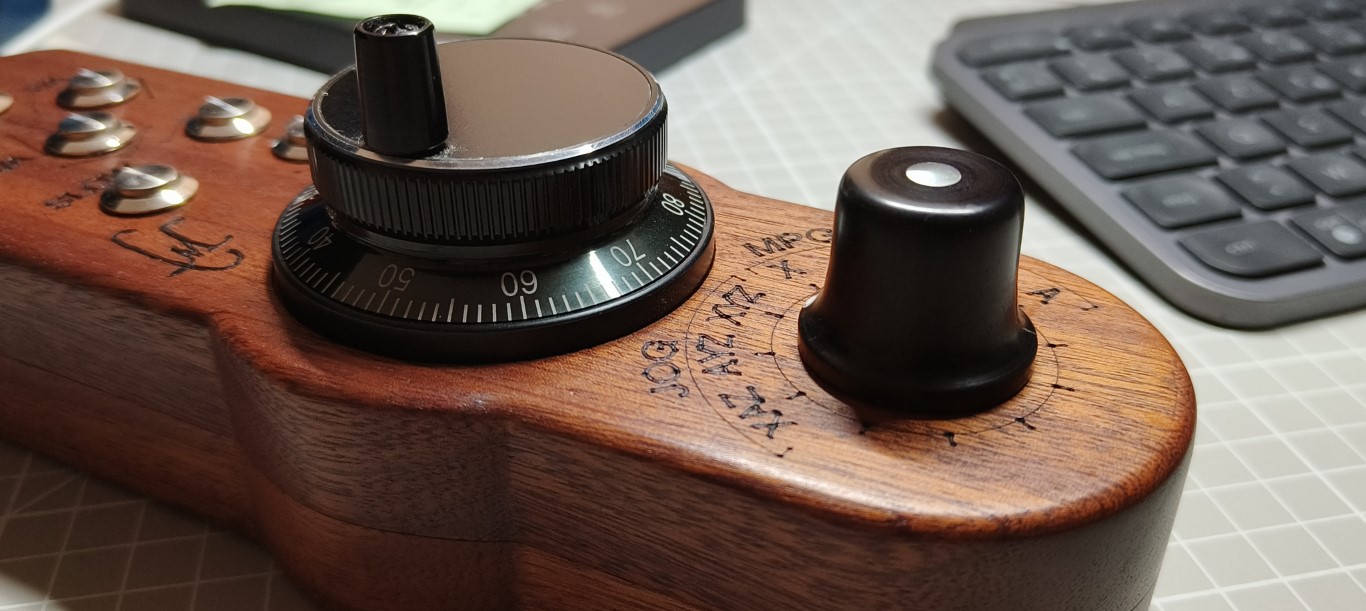
Here is the result :

To do so, I first had to think about my logo.
You need to carefully think, because you will not want to change too often !
I opted for my initials, a C and a M laced together.
I have used one of my favourite softwares for the vectorial drawing, which is
Inkscape.
I also dug the Web to find a nice font, that could provide me a pretty C and a
pretty M, while still keeping “doable”.
So I picked up the C and M, I transformed them into a vectorial drawing in
Inkscape, and then I could distort them, and lace until I found a satisfying
result.
I then printed a set in different sizes, with for each, a vertical symmetry
copy, you will soon understand why.

The tricky part comes now : the making of the matrix for pyrography.
I used a piece of round red copper, approx 10 mm in diameter. I draw the
symmetrical logo (yes, like all stamps !), and I started carving the hollow
parts of the drawing.
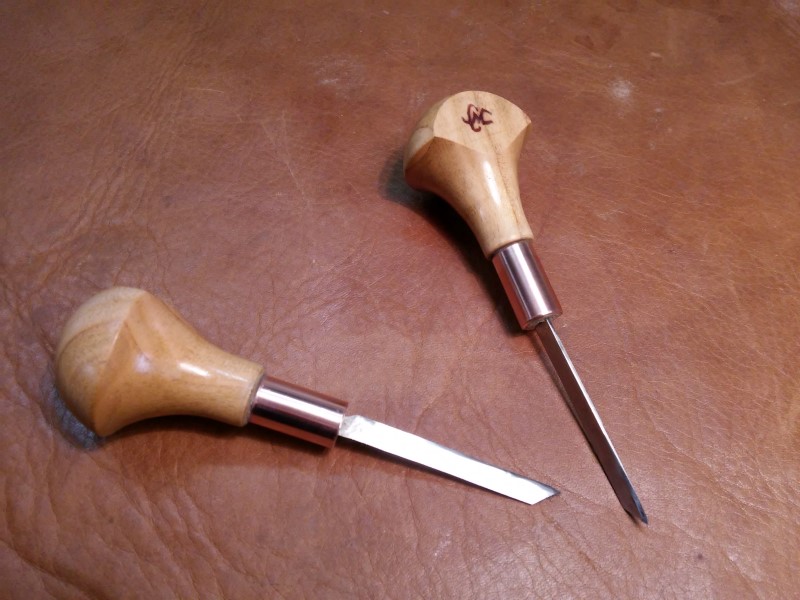
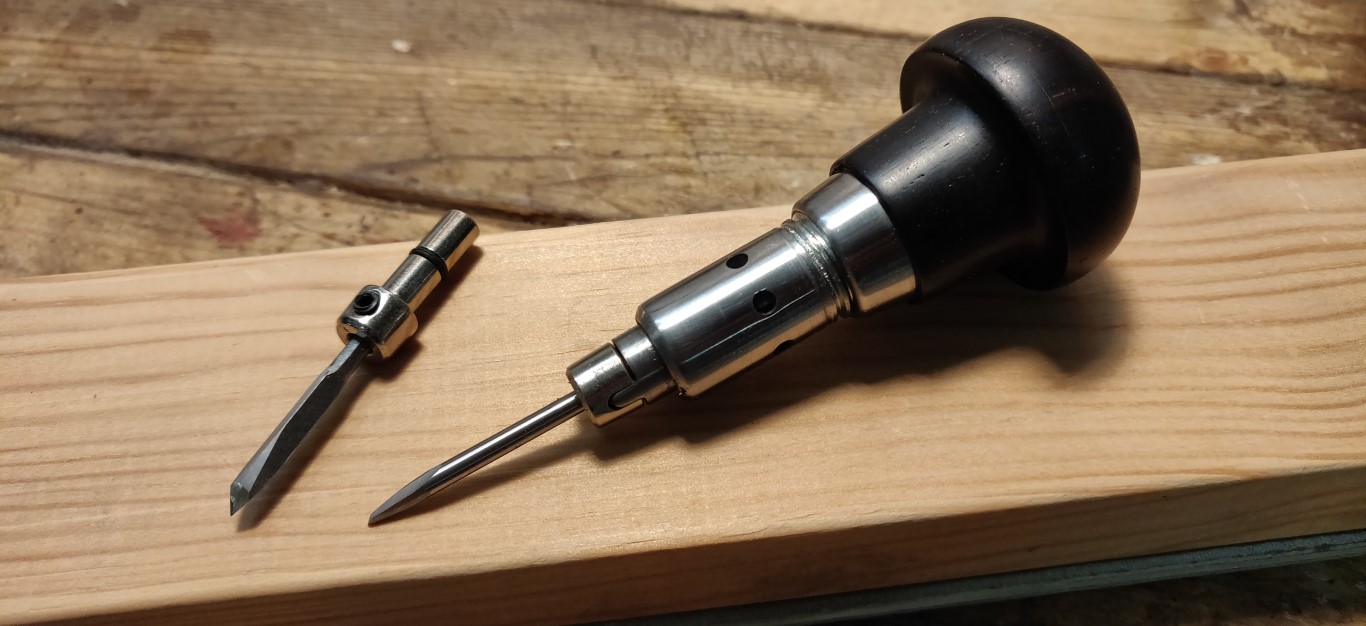
This is not simple. I used first my dremel to bore the biggest hollow parts, and then I literally carved the copper with some custom mini gouges I made from broken little drill bits (HSS or carbide), ground in the desired shape.
You need to be patient, here is what it gives :

You need then to attach your piece of copper on the tip of a soldering iron, and hup, here we go !! and it works !!
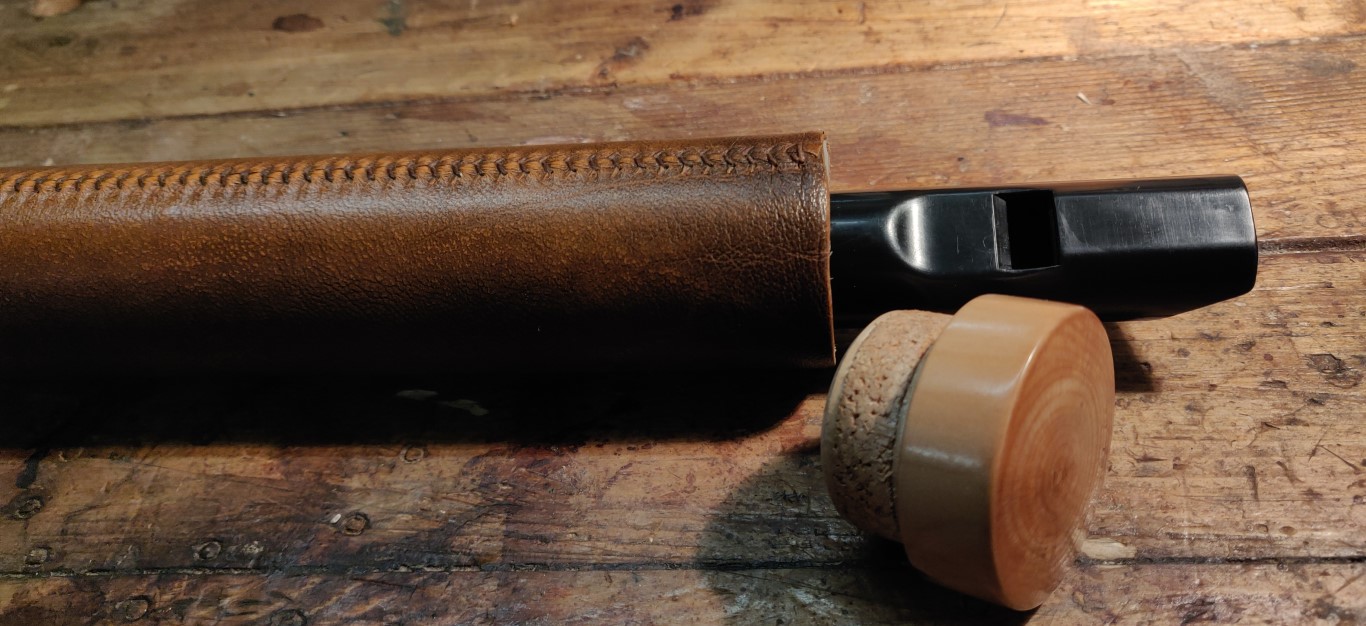
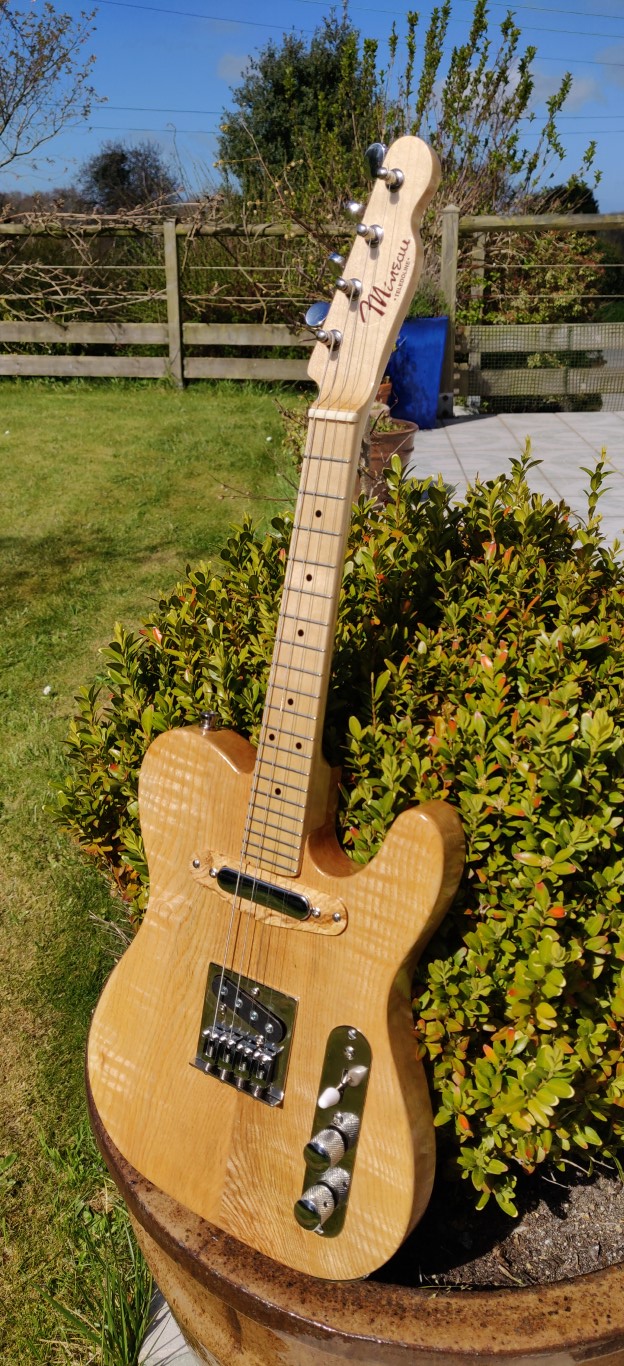
Here is an application on a boxwood made instrument :
While I’m talking about crazy things, here is an other application of my logo:

It is the truss rod cover of my F5 mando. It is made of mother of pearl,
inlaid in a thin slide of ebony, less than 2 mm thick.
You can believe me, it is sport ! (cutting the MOP without breaking, and
inlaying less than 1 mm deep) …
Voilà !
Buxus.


Older readers comments