
CNC_Pendant
CNC_Pendant
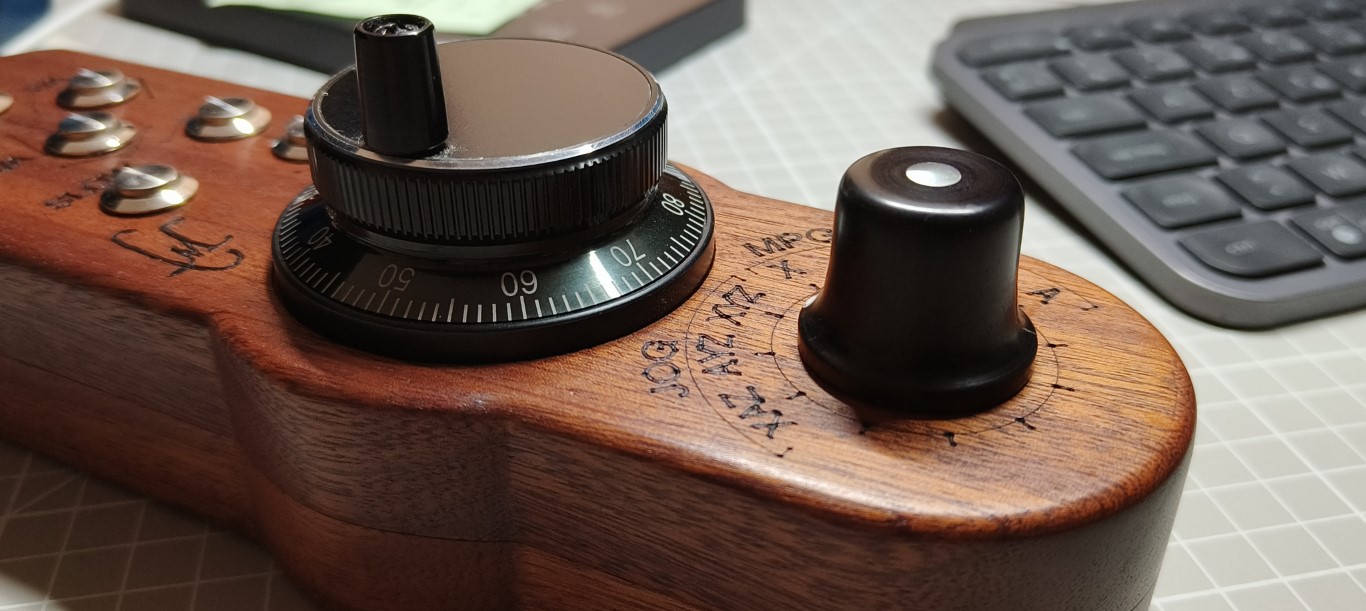
Table of contents :
A new wooden CNC Pendant
It’s actually a second version, I have been working with a temporary prototype for a while and here is the final version.
This is used to send motion commands to the CNC controller software, it actually is a USB keyboard, and it sends key strokes to the software, which needs to be configured accordingly to trigger the desired moves.
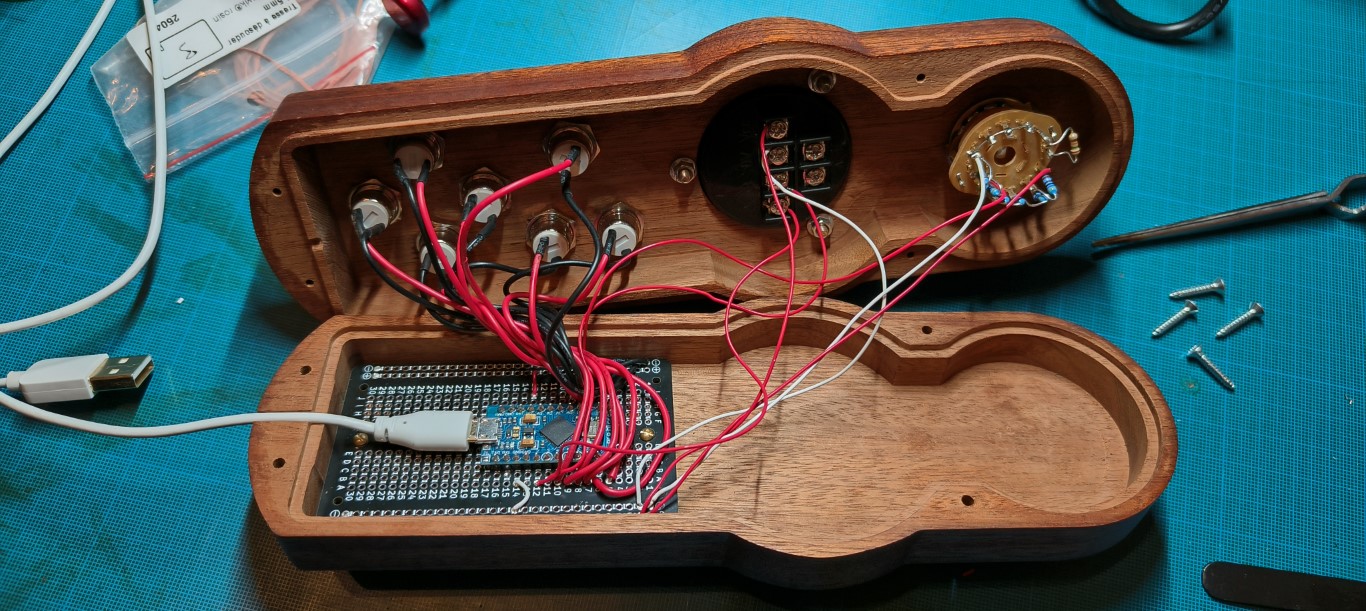
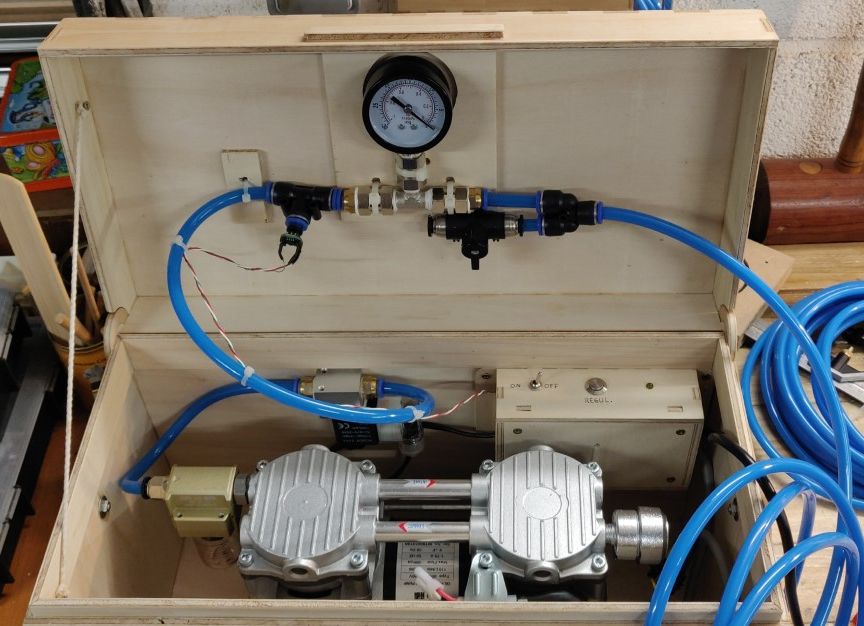
The heart of the thing is an Arduino Pro micro (which does include an USB controller, providing the keyboard/mouse emulation capability).
I am happy to share the software if someone wants to do the same, all the detailed explanation and wiring are available on my github repo :
https://github.com/ChristopheMineau/CNC_pendant/tree/main#
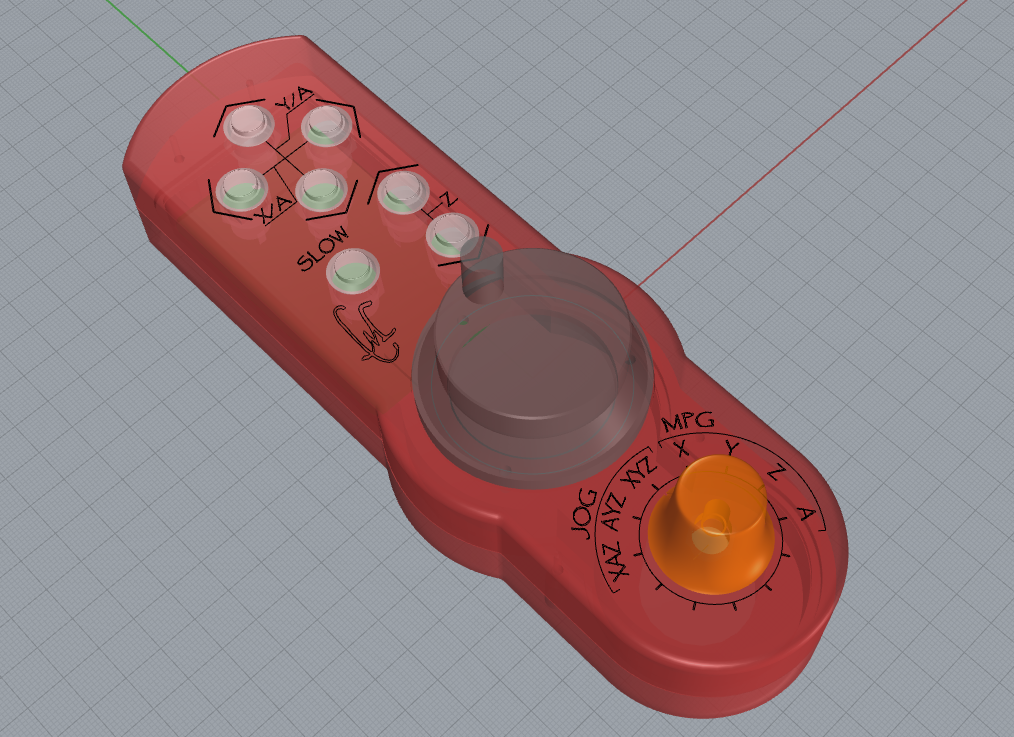
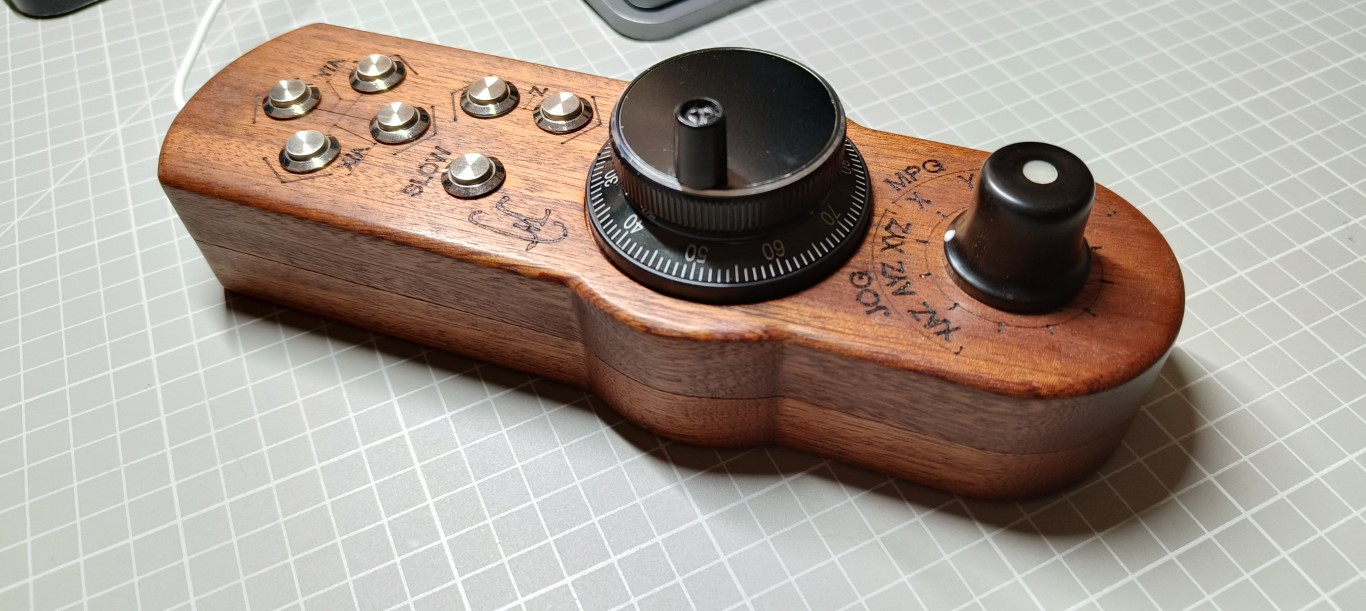
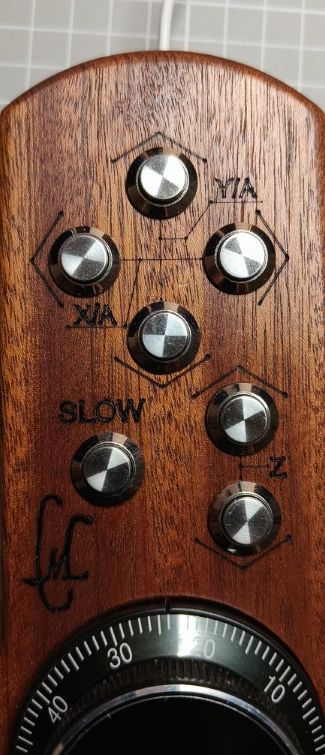
It has two principal functions : “Jogging” mode for rapid and slow appoach, and “MPG” mode (using the MPG manual pulse generator wheel) for fine adjustments.
It can control 4 axis, X Y Z and A, the 4th angular axis.
Compared to the proto, I decided to reduce the number of functions and number of buttons.
(Start / Stop buttons for instance, were not convenient for me, had several bad confusions with them, crashed a few tools …)
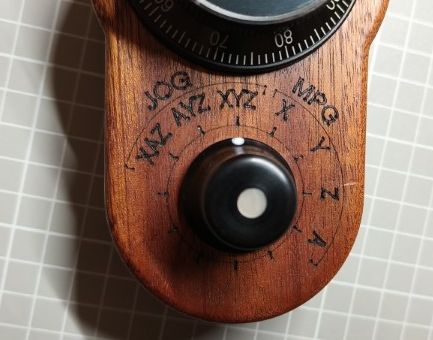
There is a rotary selector to choose which mode you are in.
I don’t have dedicated buttons for the A axis, in practical you don’t really need them.
The A axis is either installed with its axis along the Y axis, or along the X axis.
If A is parallel to Y, then the X position is set for once on the A axis, then you don’t want to move it anymore.
It’s why in that case there is a “JOG AYZ” mode, for which the < and > keys are actually used for turning the A axis instead of moving X.
Similarly, there is a “JOG XAZ” mode when A is along X.
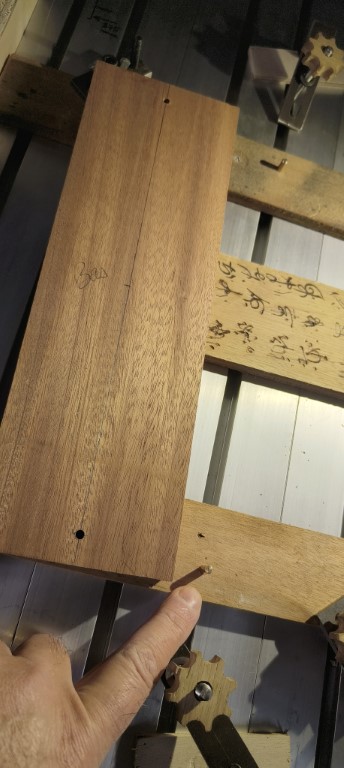
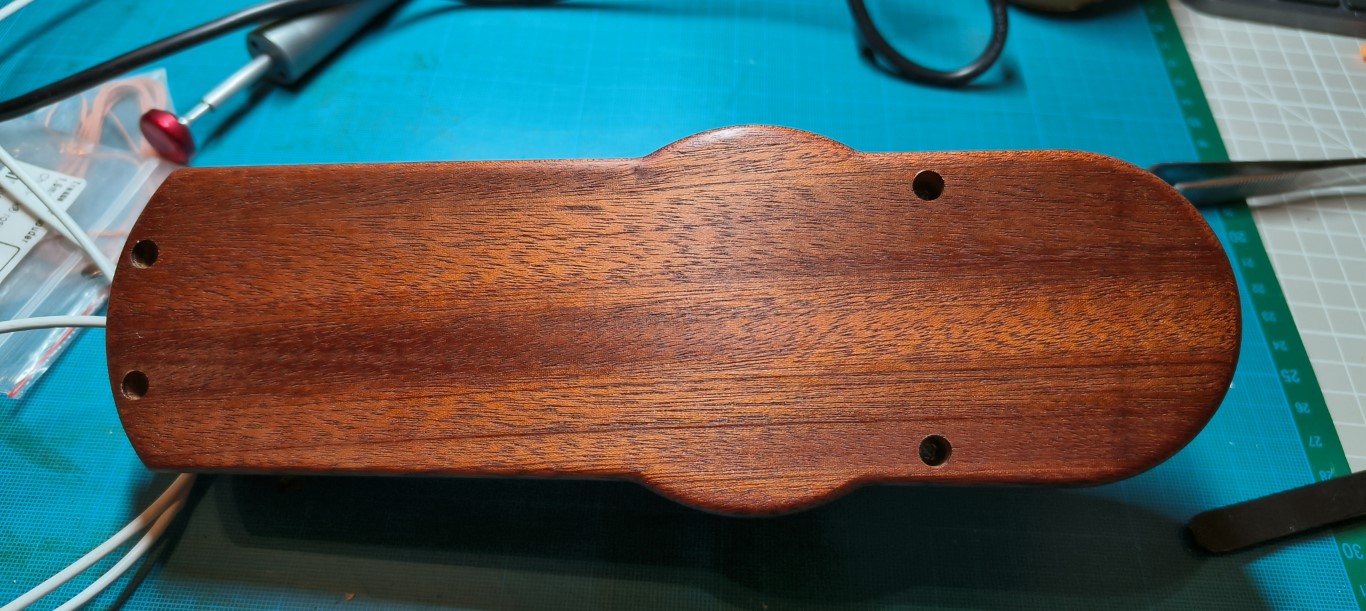
I made the case out of red mahogany wood, I took the idea from this project, thanks to his author.
Pictures of the build
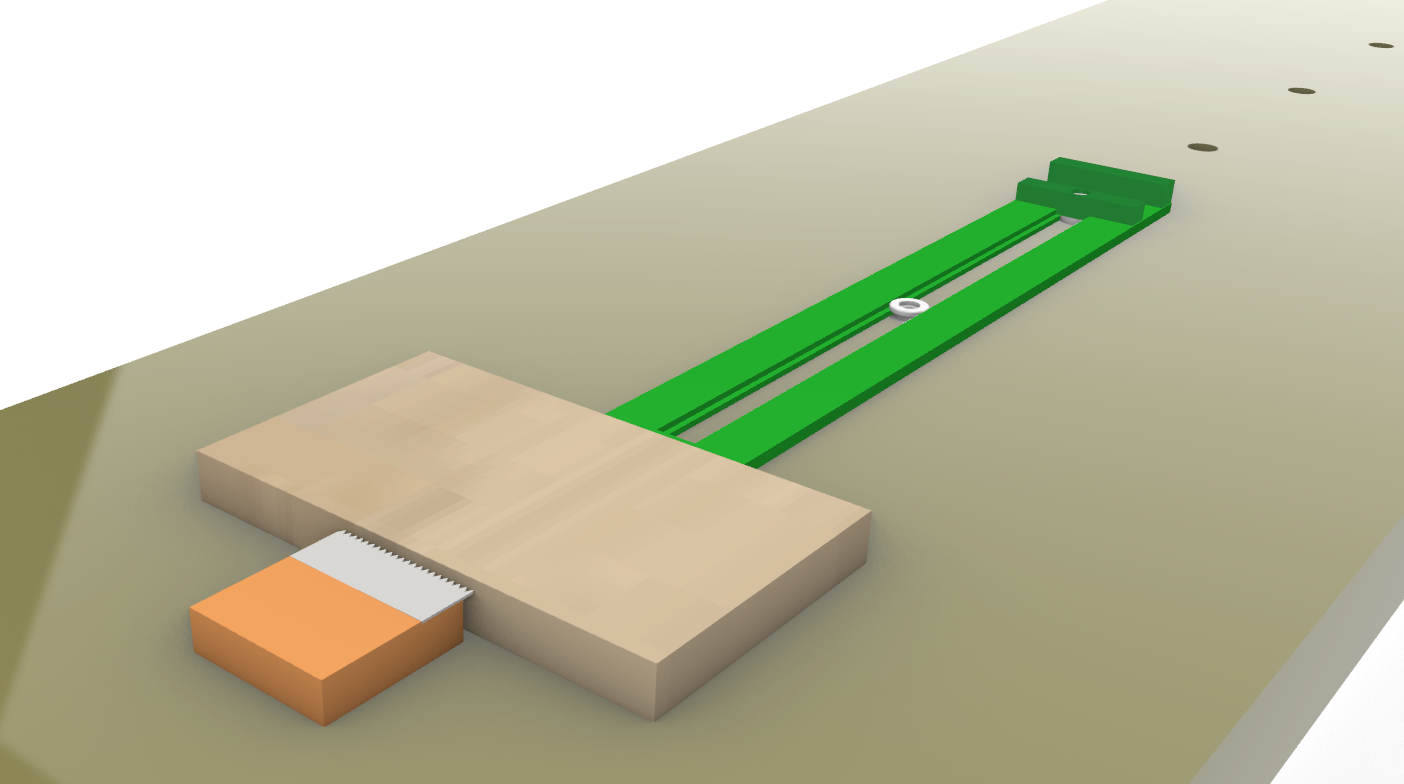
3D modeling
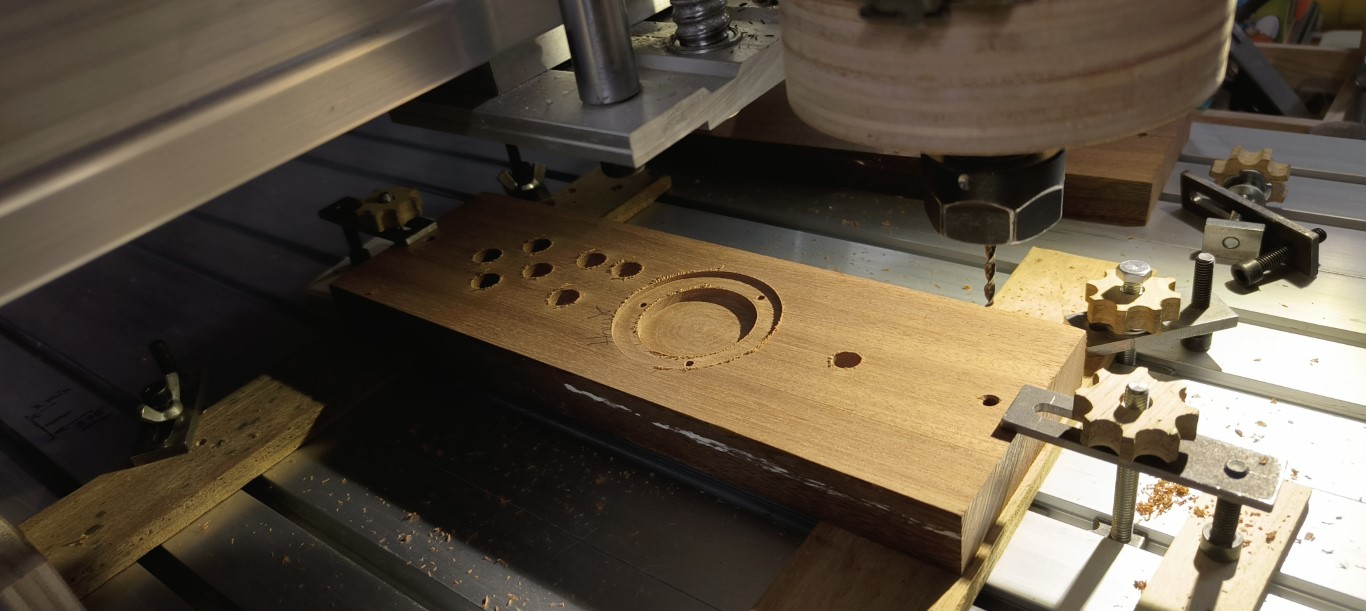
The case is hollowed out and cut in two parts, with complementary rabbets on the edges.
The tool path for CNC milling is obtained from that model.
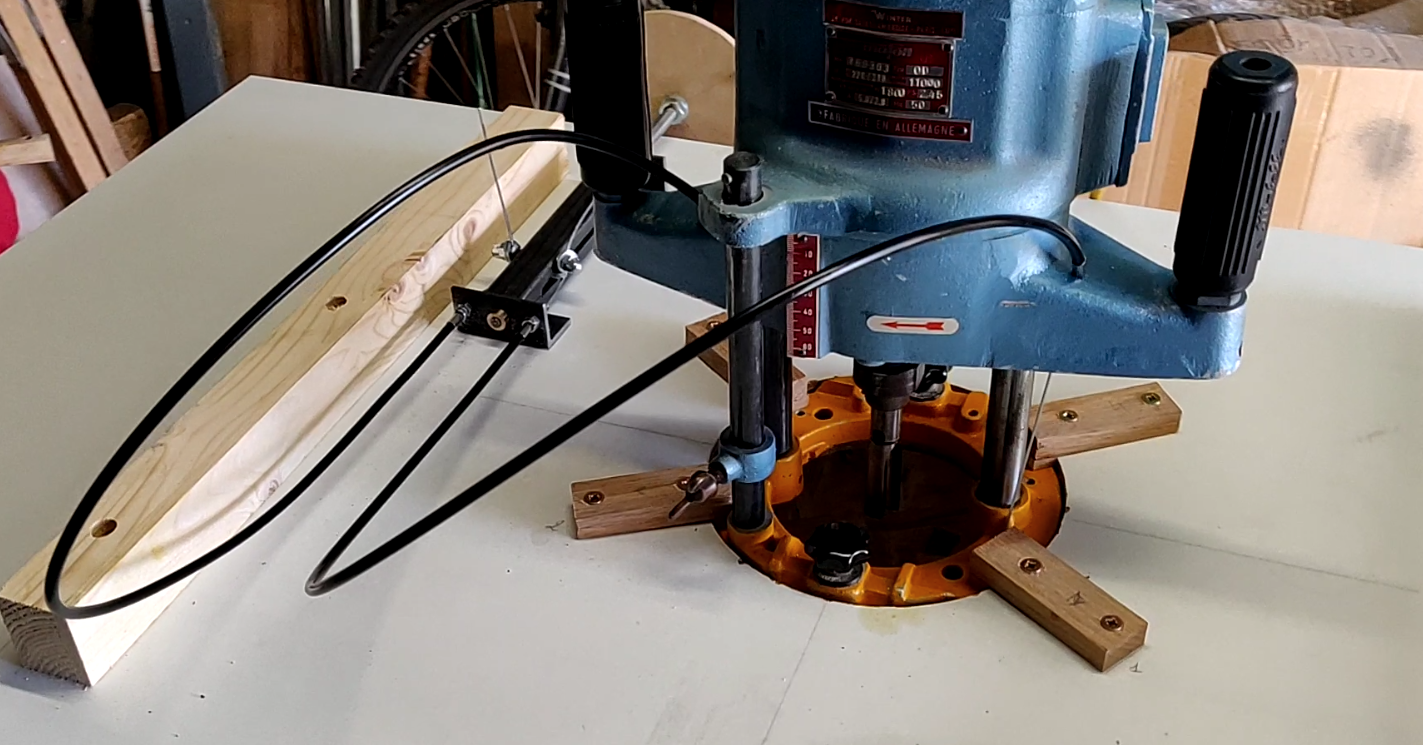
Setup for milling both sides
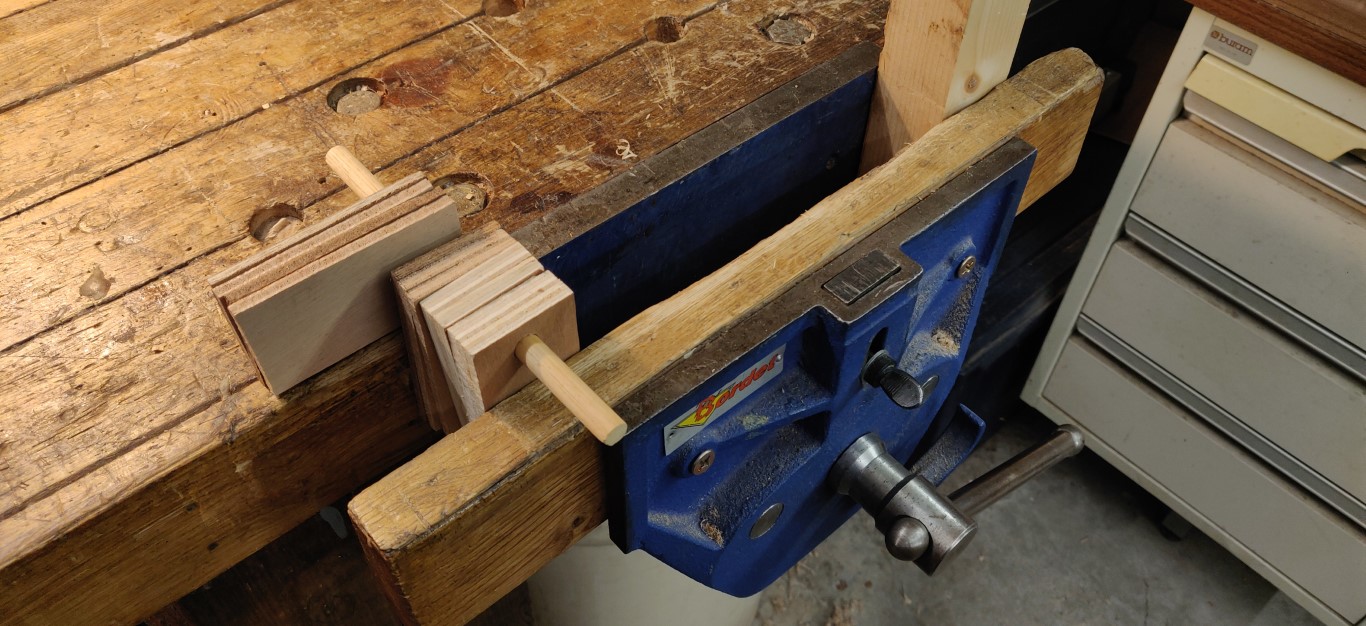
Two indexing pins are set in these plywood shims locked to the table, aligned with the Y axis.
The blank pieces have through holes to index these pins, usable on both sides.
Top piece, external side:
Top piece, internal side:
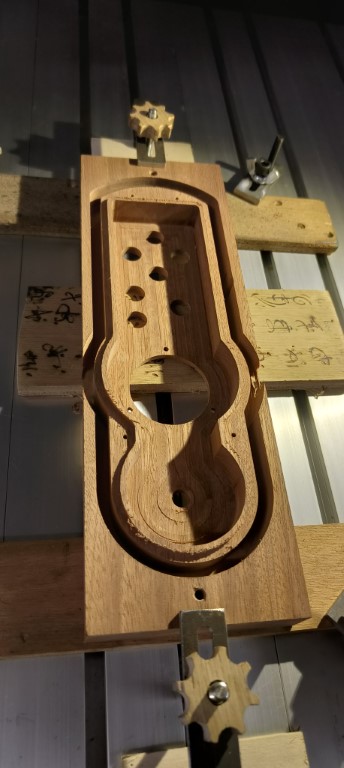
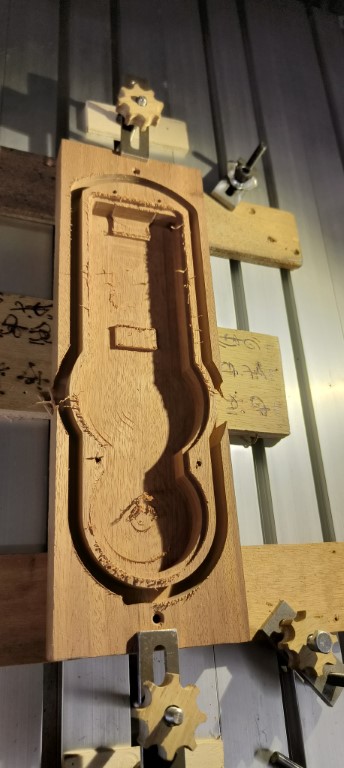
Bottom piece, internal side:
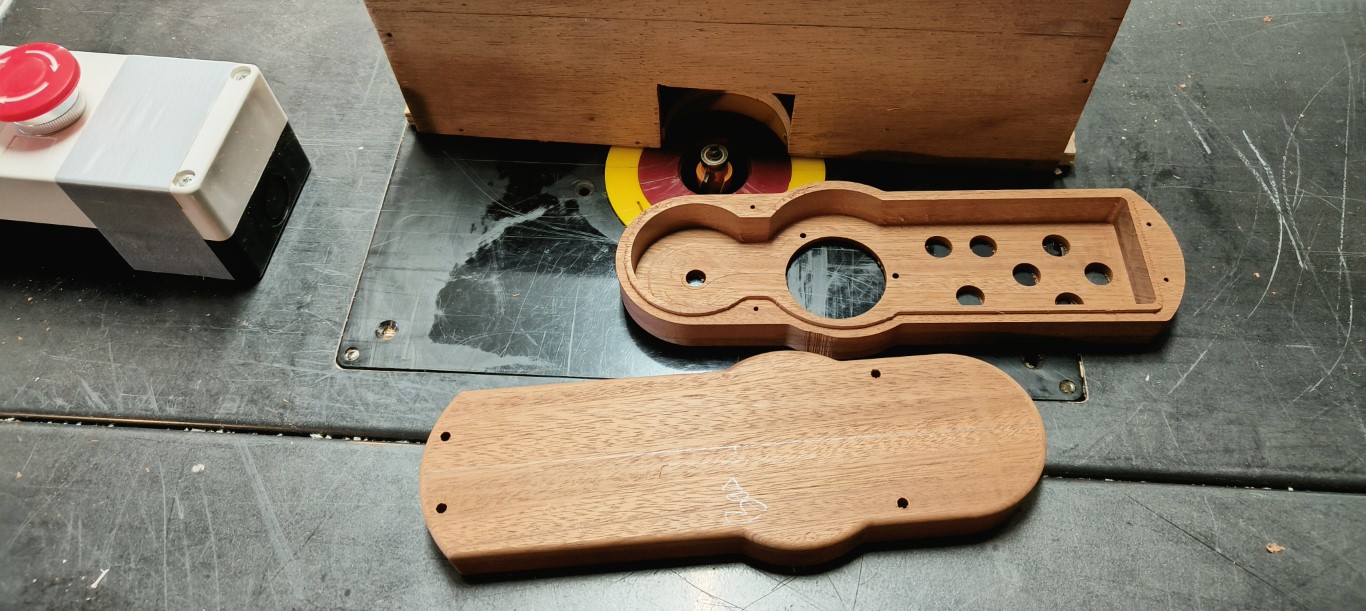
Filet on the router table
After separating the pieces, a round filet is cut on the router table.
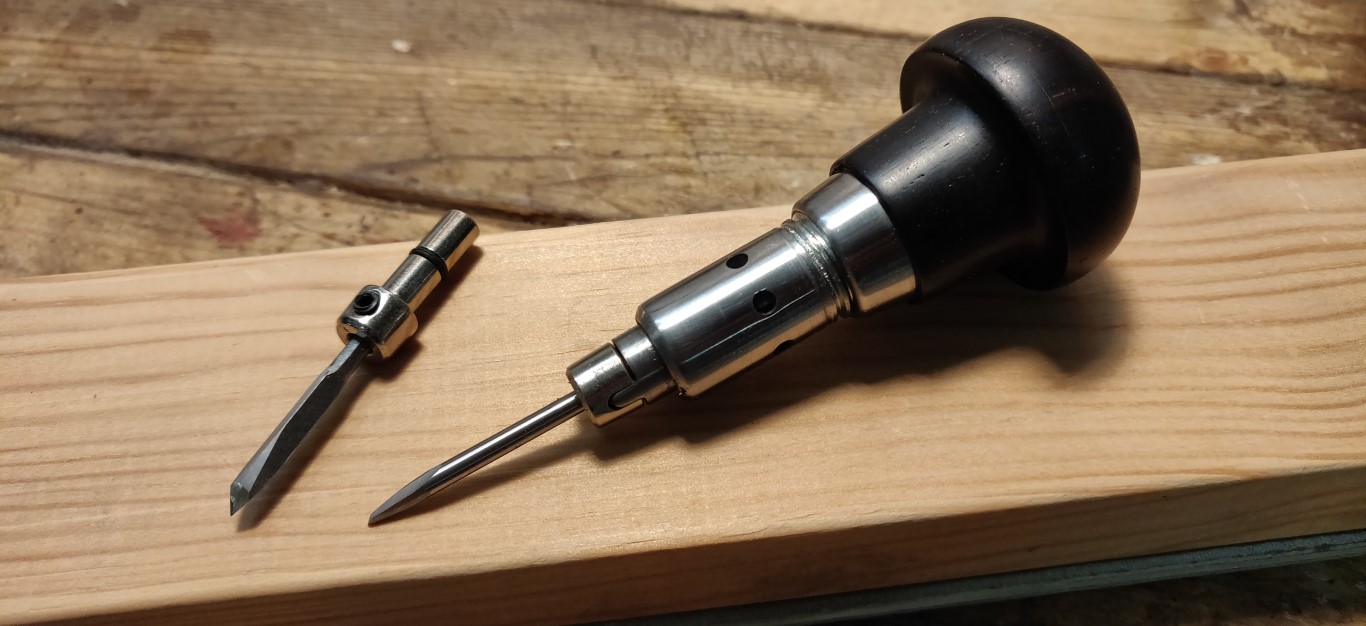
Engravings
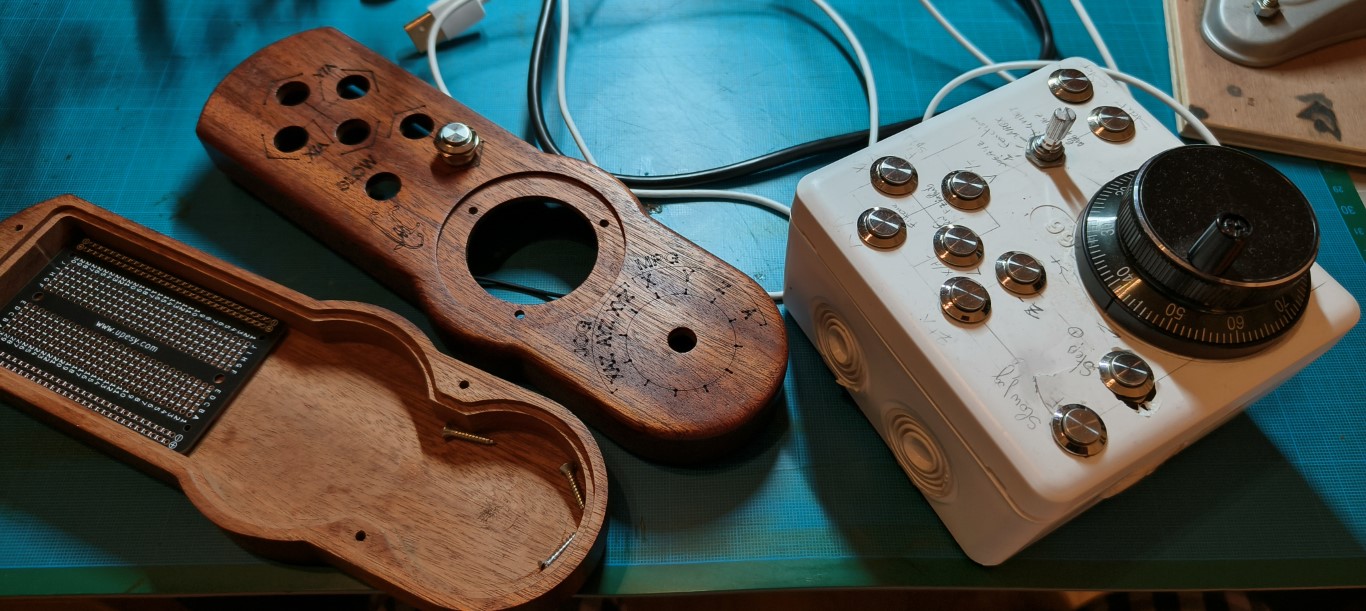
Before oil finishing, laser engravings are done on the top piece.
That was my very first project using my new laser setup on my CNC.
On the right, you can see my old prototype in a plastic box.
Wiring
The tiny Arduino pro micro is mounted on a prototyping board, screwed to the bottom piece.
Note the complementary rabbets on the edges.
Finished product

All comments welcome !
Christophe
All contents under Creative Commons BY-NC-SA license.


Older readers comments